Schlagwort: Arduino CTC
-

Arduino CTC Go! is now compatible with Chromebooks
Reading Time: 3 minutesMany educators, especially those using CTC GO!, have reached out to us for a solution that will make the board compatible with Chromebooks. So we’re pleased to announce that from today, educators and students who are using CTC GO! can now program the UNO Wifi Rev2, that comes with the kit, with…
-

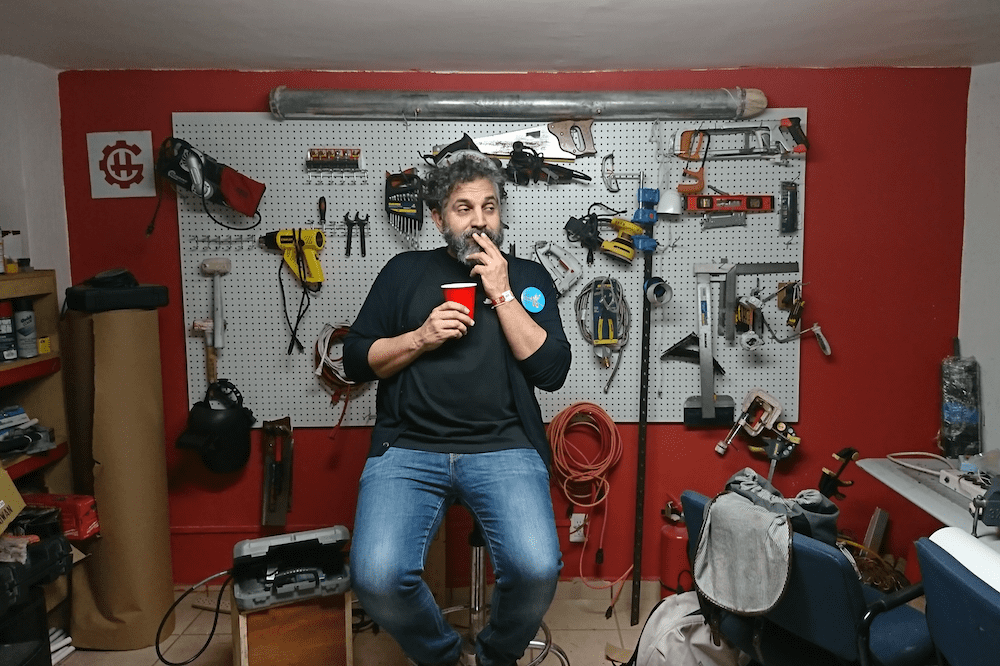
Thursday Night Live(cast) with your host David Cuartielles
Reading Time: 7 minutesWhy livecasting from Arduino Education About a month ago we started livecasting from Arduino’s YouTube channel. This is something I had been willing to do for quite some time, but I never figured out the way to make room in my agenda to fit the planning required to make it happen. Technology…
-

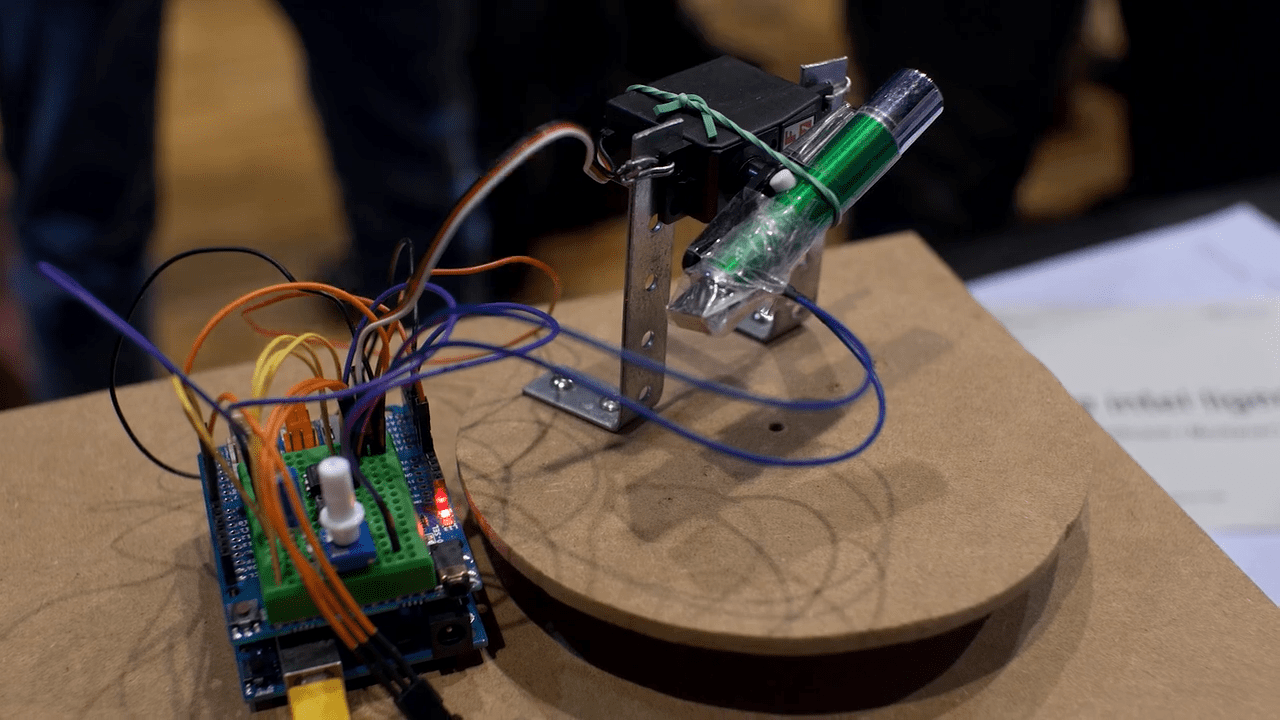
CTC Classics: Finding books with frickin’ laser beams!
Reading Time: 6 minutesCTC, a project from the 2015 edition CTC stands for Creative Technologies in the Classroom, an initiative from Arduino Education aimed at helping teachers get up to speed with 21st century skills in the context of STEAM. We have been working with CTC since 2013, with our first experience in Castilla La…
-

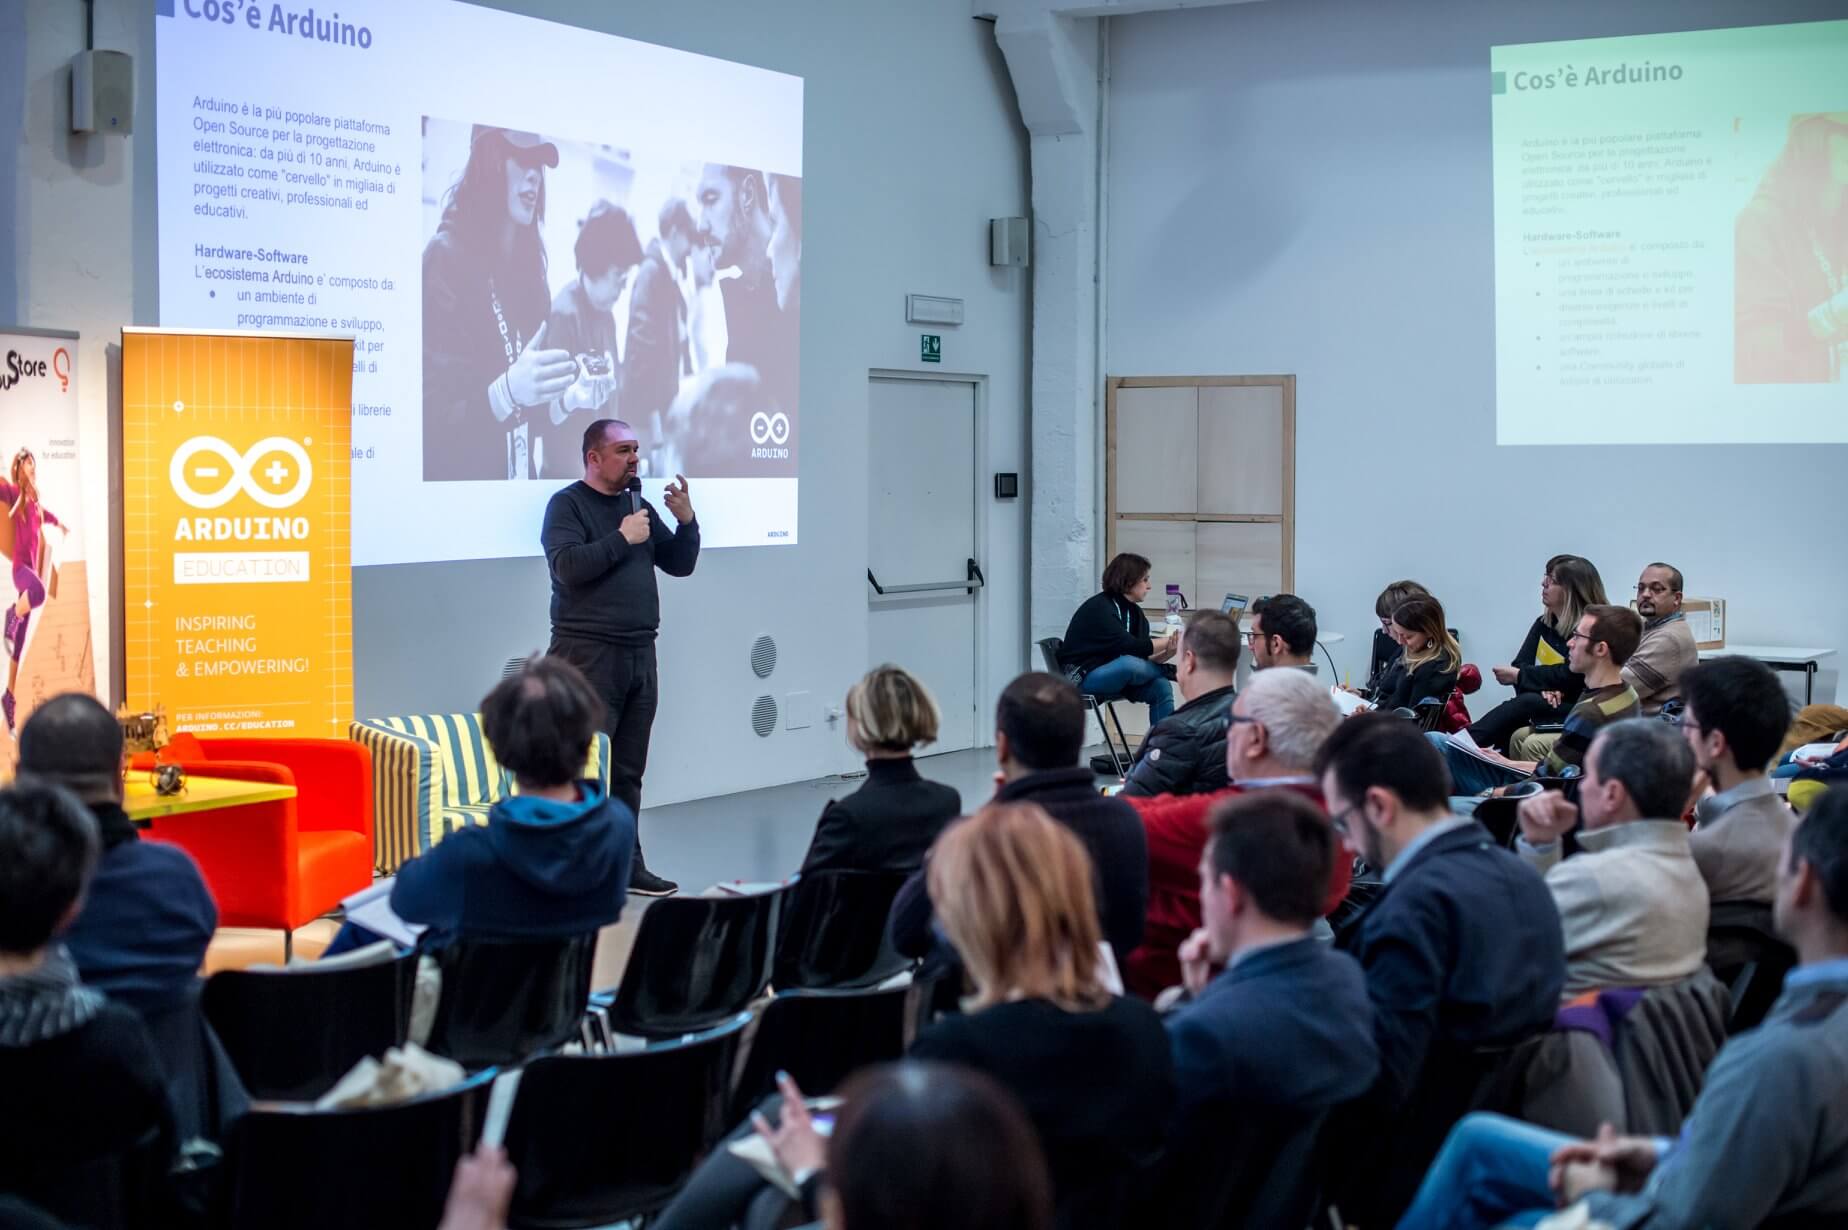
CTC 101: Giro d’Italia + CTC Faire in Barcelona
Reading Time: 3 minutesThe last couple of weeks have kept the Arduino Education team extremely busy. While some of us were presenting CTC 101 to teachers all across Italy, others were in Barcelona for the CTC 101 Faire with more than 4,000 upper secondary students showcasing the projects they created as a result of the…