Kategorie: Mobile
-

A three-year journey to build a reaction wheel
Reading Time: 2 minutesHow do unstable things stay upright? True passive balancing is very difficult and isn’t dynamic, so it doesn’t help when there is movement. Active balancing is all about inertia and this is how a tightrope walker can traverse a chasm by making small adjustments with a long pole. This is the same…
-

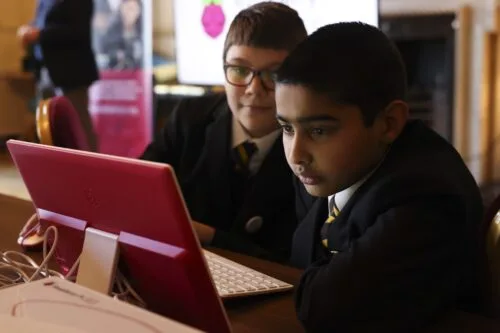
New resource to help teachers make Computing culturally relevant
Reading Time: 6 minutesHere at the Raspberry Pi Foundation, we believe that it’s important that our academic research has a practical application. An important area of research we are engaged in is broadening participation in computing education by investigating how the subject can be made more culturally relevant — we have published several studies in…
-

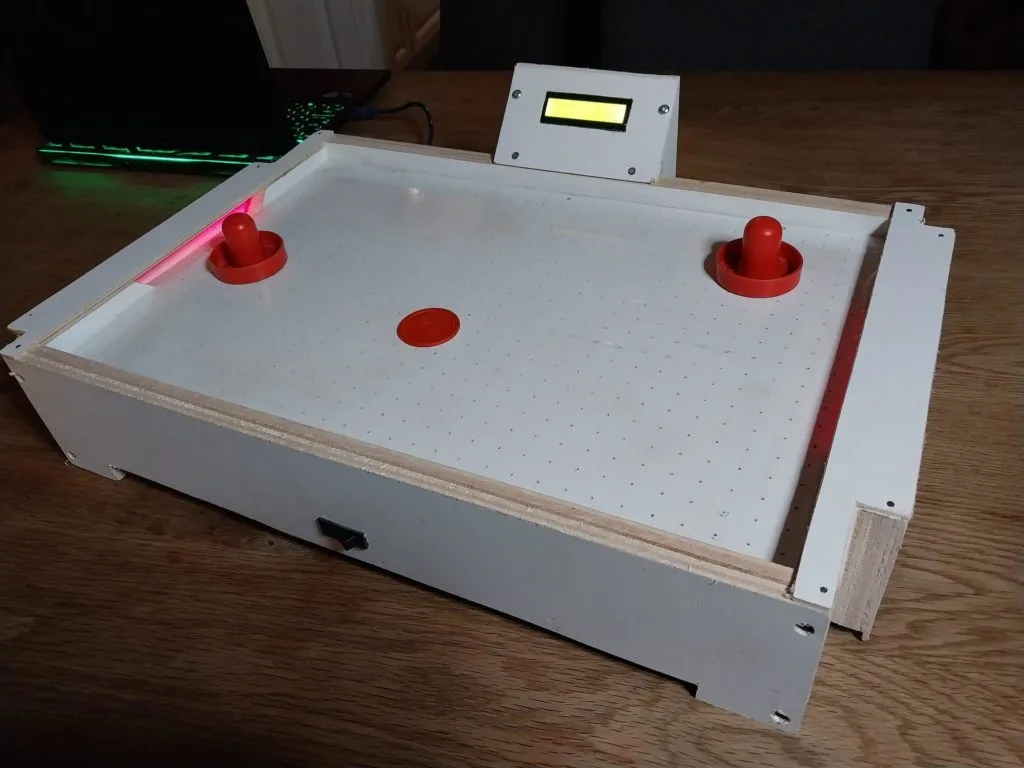
This small scorekeeping air hockey game brings the arcade classic to your tabletop
Reading Time: 2 minutesGo to any arcade and the air hockey table will probably be one of the most popular games they have. Everyone loves air hockey, but a lot of people don’t want to go to an arcade just to play. If you fall into that category, then you can follow LloydB’s Instructables guide…
-

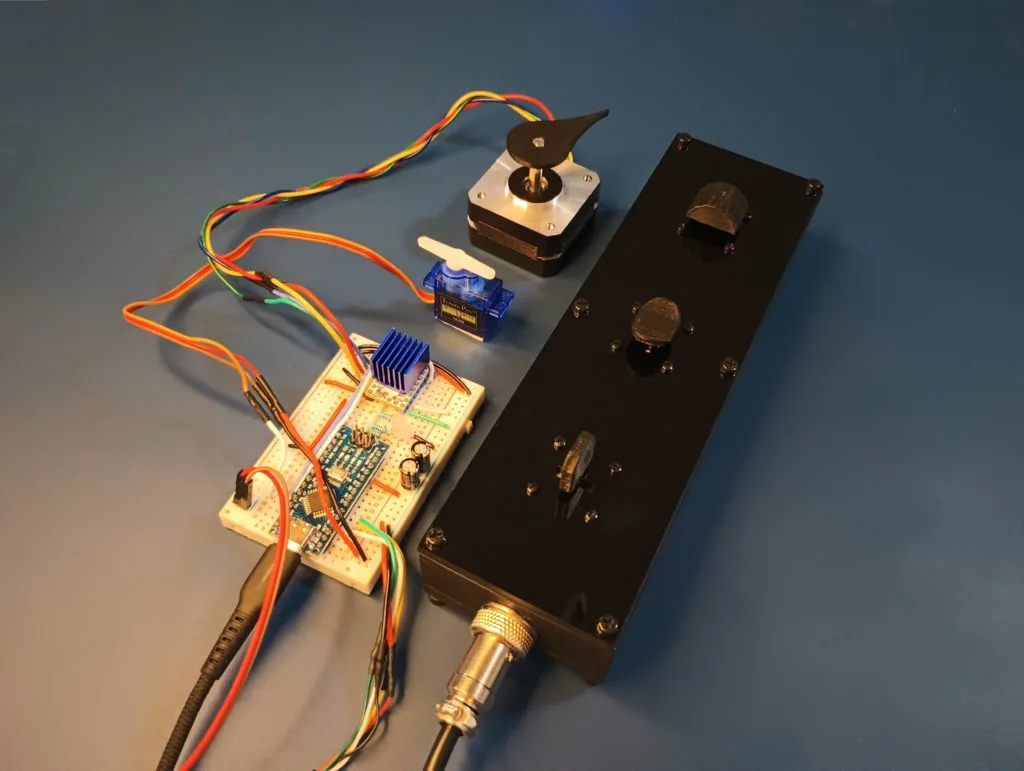
Don’t ignore single-axis joysticks
Reading Time: 2 minutesWhen you hear the word “joystick,” you probably think of the standard dual-axis joysticks that we see on video game controllers. As the name implies, those move and provide signals for two axes (X and Y). But there is no reason that a joystick needs two axes and, in fact, that may…
-

Our new theory of change
Reading Time: 4 minutesOne of the Raspberry Pi Foundation’s core values is our focus on impact. This means that we are committed to learning from the best available evidence, and to being rigorous and transparent about the difference we’re making. Like many charities, an important part of our approach to achieving and measuring our impact…
-

Get coding with Raspberry Pi in The MagPi magazine #140
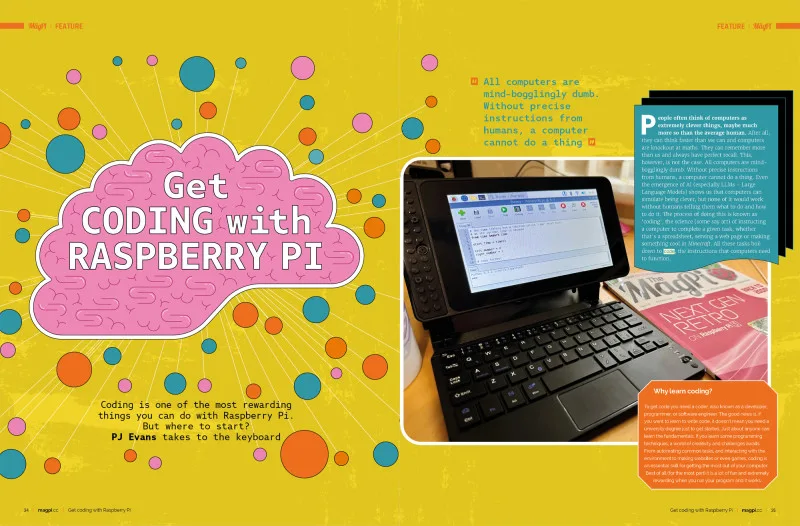
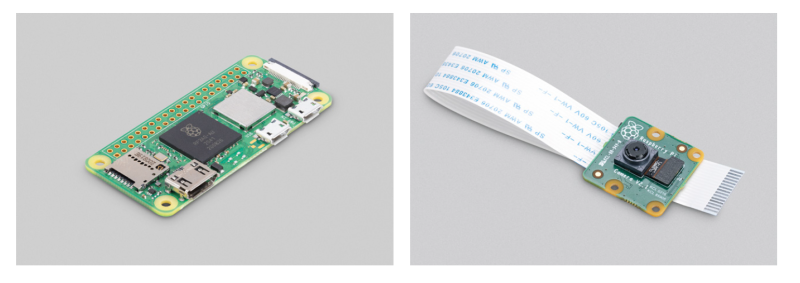
Reading Time: 2 minutesGet coding with Raspberry Pi In this month’s edition of The MagPi we look at your coding options with Raspberry Pi: should you learn Python, Node.JS, or Go? And which IDE is best? PJ Evans has you covered with this in-depth guide to coding. Raspberry Pi 5 & Pico Raspberry Pi 5…
-

Win a Raspberry Jam Bundle!
Reading Time: < 1 minuteWe were honoured to find out that a year long subscription to The MagPi is part of the Raspberry Jam bundle sent out to event organisers over the next couple of months, and thought we’d give our readers a chance to win a version of the bundle with a Raspberry Pi…
-
Supporting Computing in England through our renewed partnership with Oak National Academy
Reading Time: 3 minutesWe are pleased to announce that we are renewing our partnership with Oak National Academy in England to provide an updated high-quality Computing curriculum and lesson materials for Key Stages 1 to 4. New curriculum and materials for the classroom In 2021 we partnered with Oak National Academy to offer content for…
-
Ceiling fan becomes a “spaceship” SCARA robot arm
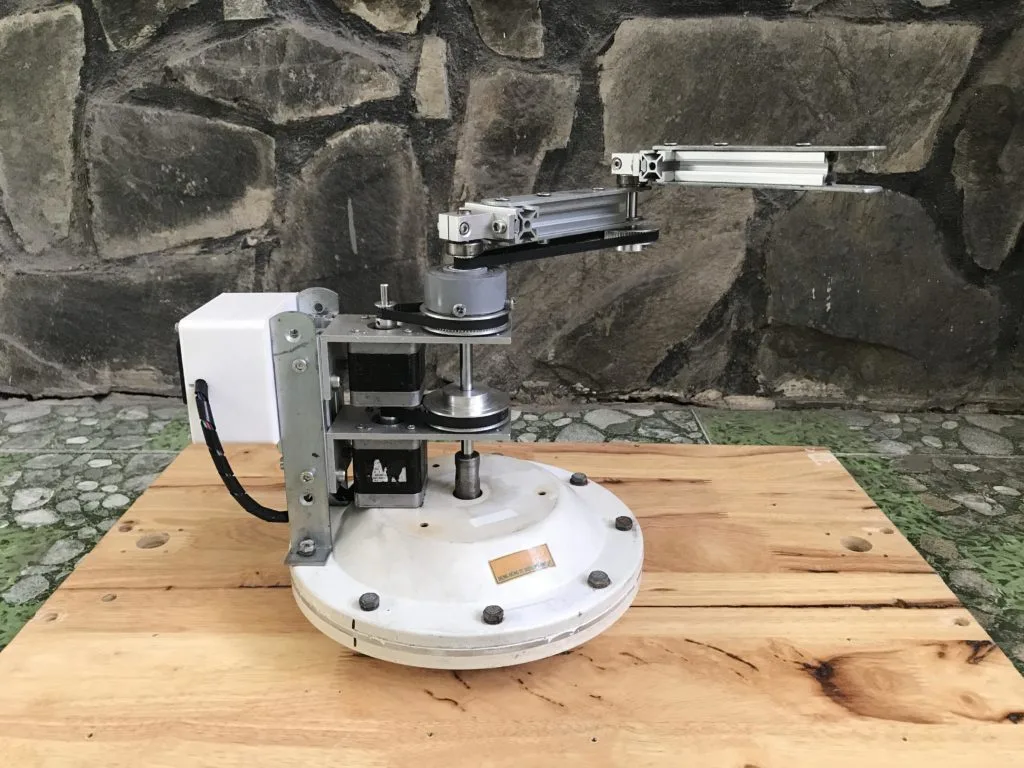
Reading Time: 2 minutesWe all know how annoying a ceiling fan can be when it isn’t balanced well and that annoyance perfectly demonstrates the necessity of a good, sturdy bearing. A ceiling fan’s bearing needs to allow for smooth rotational motion with as little friction as possible, while completely constraining movement in every other axis.…
-

How we’re creating more impact with Ada Computer Science
Reading Time: 5 minutesWe offer Ada Computer Science as a platform to support educators and learners alike. But we don’t take its usefulness for granted: as part of our commitment to impact, we regularly gather user feedback and evaluate all of our products, and Ada is no exception. In this blog, we share some of…
-

A delightful Chandrayaan-3 rocket launch model
Reading Time: 2 minutesIt may not get as much attention as NASA, Roscosmos, or even CNSA (China National Space Administration), but India’s space program has achieved some impressive goals. Just last year, in August of 2023, ISRO (Indian Space Research Organisation) completed their first soft landing on a celestial object with the Chandrayaan-3’s moon landing.…
-
Using an AI code generator with school-age beginner programmers
Reading Time: 5 minutesAI models for general-purpose programming, such as OpenAI Codex, which powers the AI pair programming tool GitHub Copilot, have the potential to significantly impact how we teach and learn programming. The basis of these tools is a ‘natural language to code’ approach, also called natural language programming. This allows users to generate…
-

Can I build my own robot with Arduino?
Reading Time: 5 minutesWhen you think of automation, what’s the first image that comes to mind? For many of us, it’s a robot. From the blocky, square-headed characters of sci-fi comic fame to household more complex creations like the Replicants of Blade Runner — robots have captured our collective imagination for a long time. It’s…
-

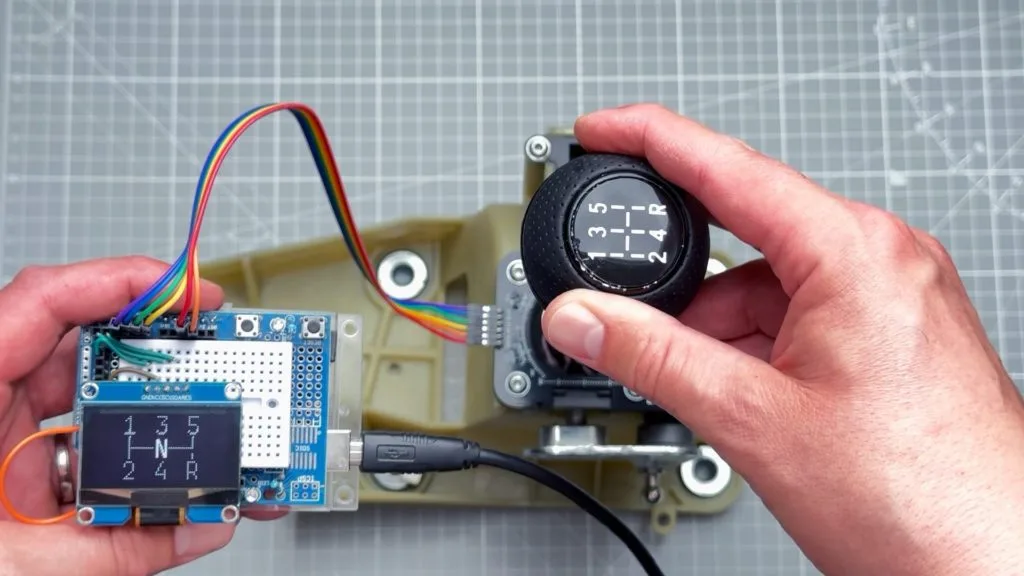
An easy way to add a gear indicator for your stick shift
Reading Time: 2 minutesThe objective benefits may be almost nonexistent today, but there is still something satisfying about rowing through the gears in a car with a manual transmission. If that car was made in the past couple of decades, there is a good chance that it has an indicator on the dash to tell…
-

The Experience AI Challenge: Find out all you need to know
Reading Time: 3 minutesWe’re really excited to see that Experience AI Challenge mentors are starting to submit AI projects created by young people. There’s still time for you to get involved in the Challenge: the submission deadline is 24 May 2024. If you want to find out more about the Challenge, join our live webinar…
-

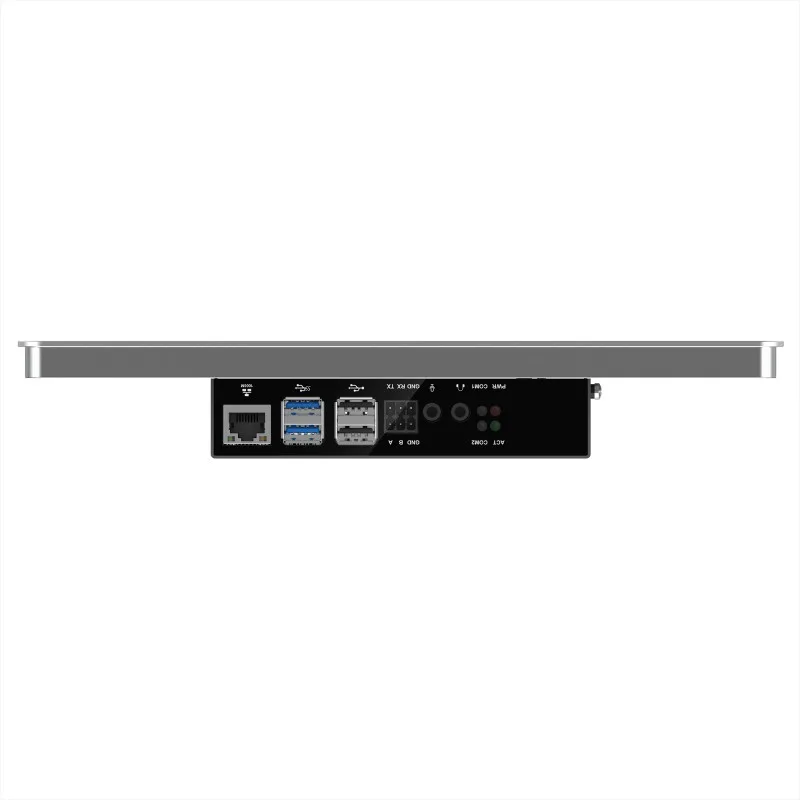
ED-HMI3020 Pi 5 touchscreen review
Reading Time: 2 minutesAn upgrade over the HMI3010 models, the HMI3020 adds RS232 and RS485 interfaces, as well as 3.5mm headphone and mic jacks. The key addition, however, is an M.2 socket. To access it, you’ll need to unscrew Raspberry Pi 5 and the case from the rear of the unit, then you can use…
-

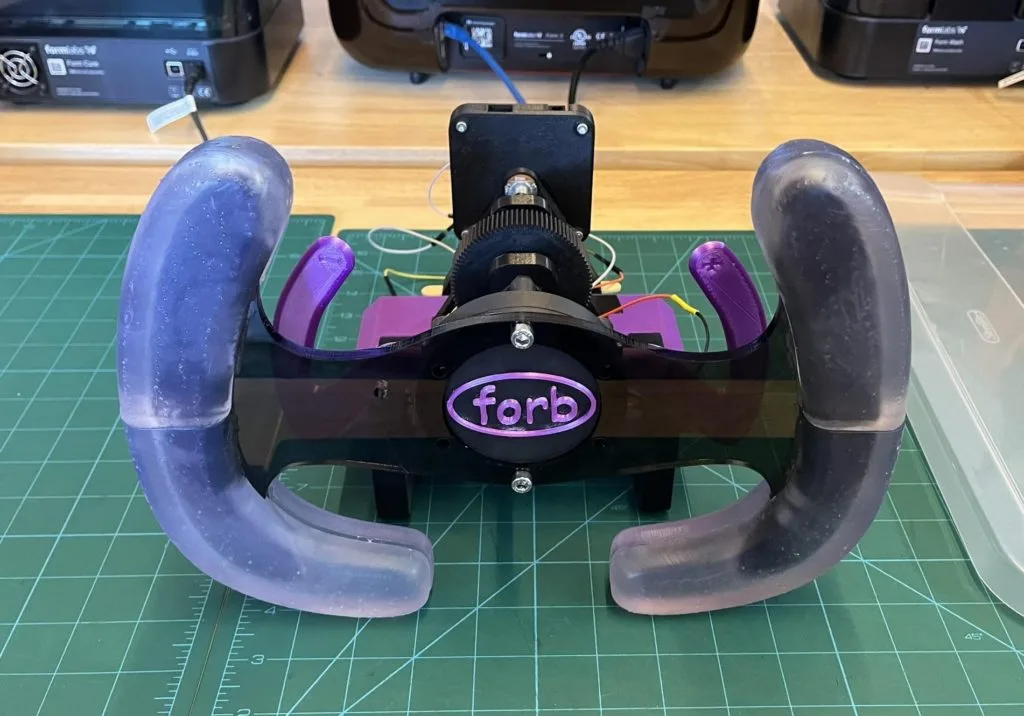
High school student builds his dream racing wheel
Reading Time: 2 minutesRacing “video games” can be incredibly realistic these days, with every facet of the car’s physics and their interaction with the asphalt programmed in. Those racing sims could provide a completely immersive experience — if the player wasn’t sitting on a motionless couch using a controller that doesn’t resemble a car’s steering…
-

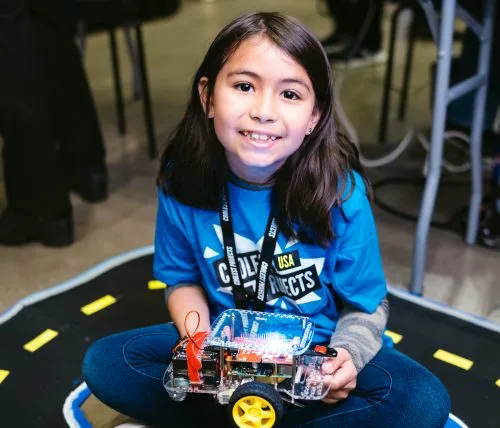
Celebrating the community: Micah
Reading Time: 4 minutesWe love hearing from members of the community and sharing the stories of inspiring young people, volunteers, and educators all over the world who have a passion for technology. Micah attends a Code Club in a library in Leeds, UK. With this latest story, we’re taking you to Leeds, UK, to meet…
-

Arduino Days: Full schedule is online!
Reading Time: 2 minutesThis year we have so many talks, presentations, and announcements we had to spread out over three days! Arduino Days 2024 will be held from March 21st to 23rd – giving us more time to celebrate our community with our yearly event: 100% online, free, and open to all. The full schedule…
-

Season 6 of the Hello World podcast is here
Reading Time: 3 minutesThrough the Hello World podcast, we help to connect computing educators around the world and share their experiences. In each episode, we expand on a topic from a recent Hello World magazine issue. After 5 seasons, and a break last year, we are back with season 6 today. Episode 1: Do kids…
-

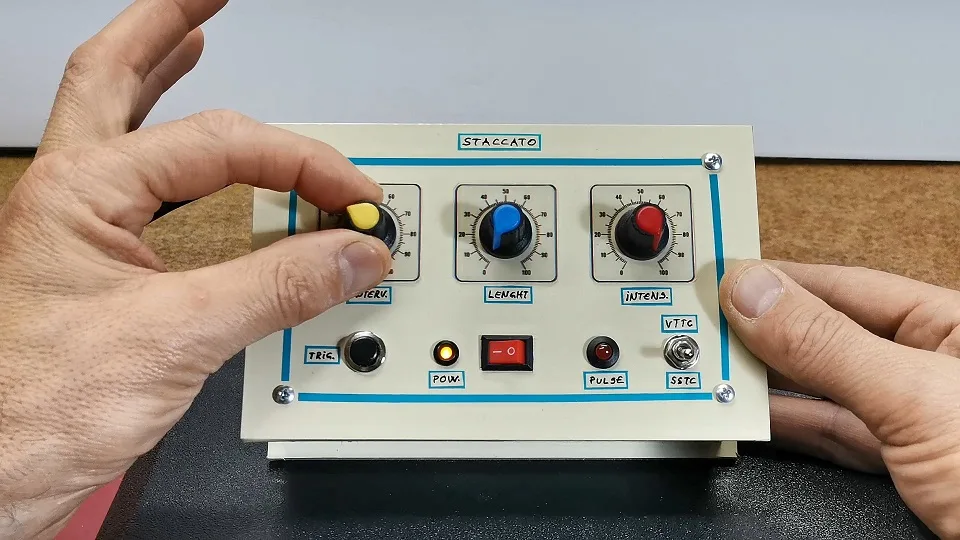
DIY “Staccato” controller drives Tesla coils
Reading Time: 2 minutesThe Tesla coil, patented by legendary inventor Nikola Tesla in 1891, is a kind of resonant transformer circuit capable of producing sparks of high-voltage alternating-current electricity. They don’t have many practical uses today beyond novelty, but they were commonly used in spark-gap radio transmitters in the early 20th century. The sparks generated by…
-

Find even more content celebrating women on Google PlayFind even more content celebrating women on Google PlayHead of Editorial
Reading Time: < 1 minuteLearn from female voices through our book collections and editorial pages If you’re eager to explore more empowering stories, we’re spotlighting celebrity-curated book collections. Explore UK journalist Bryony Gordon’s picks, including her memoir, “Mad Woman,” or delve into American romance author Kennedy Ryan’s favorite books. We’re also highlighting e-books and audiobooks…