Kategorie: Mobile
-

This device helps ski lift operators attach chairs to the cable
Reading Time: 2 minutesMost ski lifts are pretty simple systems: they use big ol’ motors to pull cables with chairs or hangers attached. More advanced detachable designs let the chairs come off the cable temporarily while in the terminal, so skiers can hop on at a leisurely pace. But basic fixed-grip chairlifts don’t have that…
-

Interactive Engineering Corp. joins Arduino’s System Integrators Partnership Program at the Gold level
Reading Time: 2 minutesWe are thrilled to announce the newest addition to Arduino’s System Integrators Partnership Program: Interactive Engineering Corp. (IEC), based in Ohio, is a best-in-class solution provider in engineering and manufacturing, bringing to the table a unique blend of expertise and aligning seamlessly with Arduino’s core values of industrial innovation. Indeed, their philosophy…
-

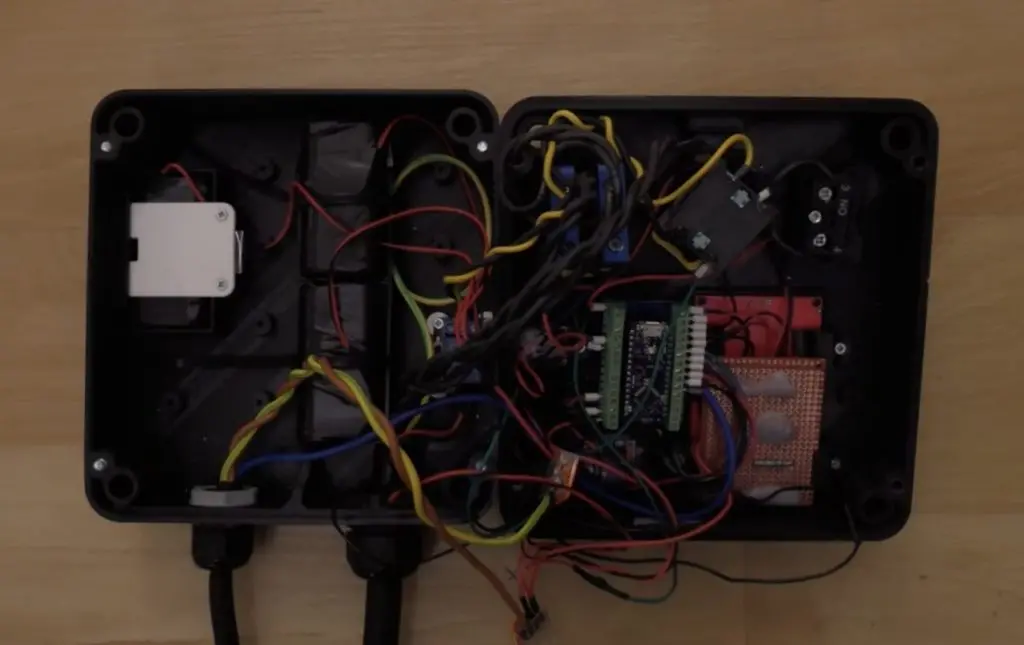
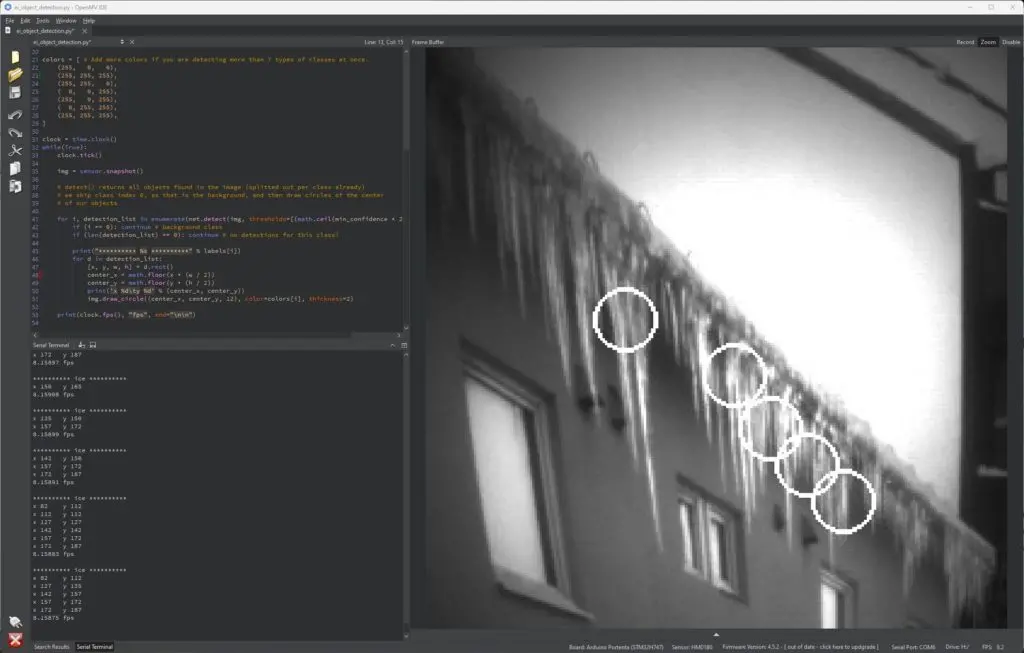
Detecting rooftop ice buildup using an Arduino Portenta and synthetic data
Reading Time: 2 minutesIn areas that experience plenty of cold weather, icicles and ice dams can present a very real danger to the people and property nearby. In response, Eivind Holt has developed a computer vision-based system that relies on an Arduino Portenta H7, a Portenta Vision Shield, and a slew of AI tools/models to recognize this…
-

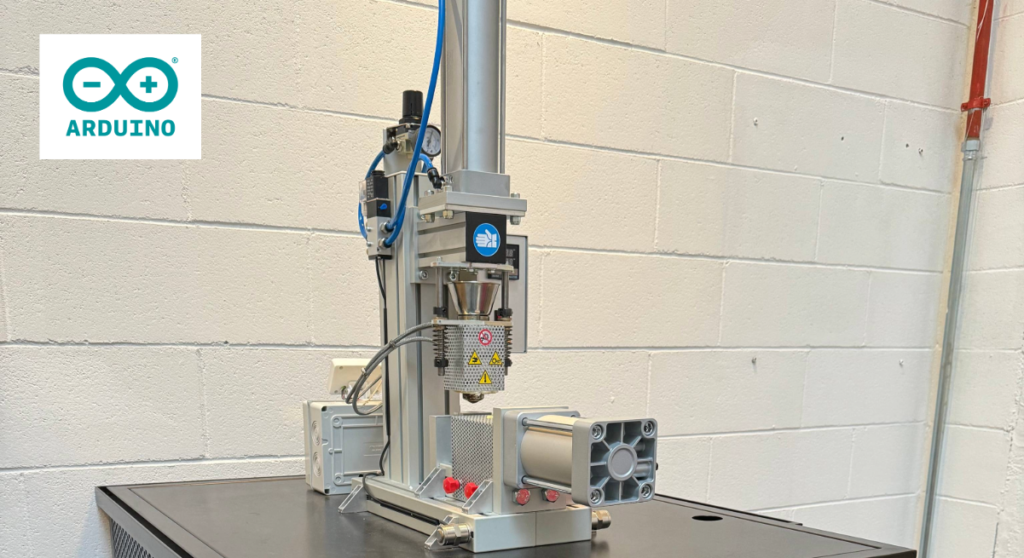
Arduino Cloud and Opta WiFi make an injection molding machine connected and smart
Reading Time: 3 minutesIn the rapidly evolving landscape of industrial technology, three interesting trends are intertwining to streamline processes, improve efficiency, and reduce downtime. They are retrofitting, remote control/monitoring, and power metering – and together, they make for a great strategy to upgrade and improve existing machinery, reaping all the benefits of connected things and…
-

Get young people making interactive websites with JavaScript and our ‘More web’ path
Reading Time: 5 minutesModern web design has turned websites from static and boring walls of information into ways of providing fun and engaging experiences to the user. Our new ‘More web’ project path shows young creators how to add interaction and animation to a webpage through JavaScript code. Why learn JavaScript? As of 2024, JavaScript…
-

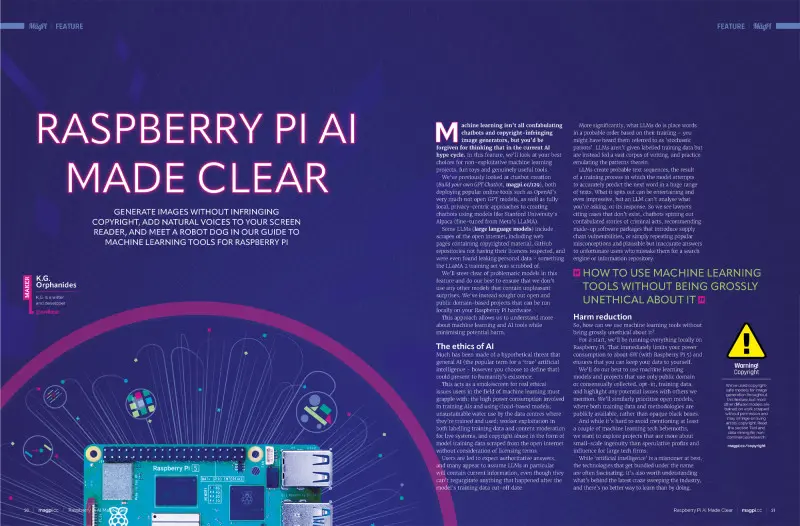
Understand artificial intelligence in The MagPi magazine issue #141
Reading Time: 2 minutesRaspberry Pi AI Made Clear Our Raspberry Pi AI Made Clear feature demystifies artificial intelligence by showing you how to develop generative technologies using Raspberry Pi and open-source software. Create personal image diffusers, generate large language models, and assemble intelligent-acting robots, cameras, and speech assistants. All while keeping one eye on the…
-

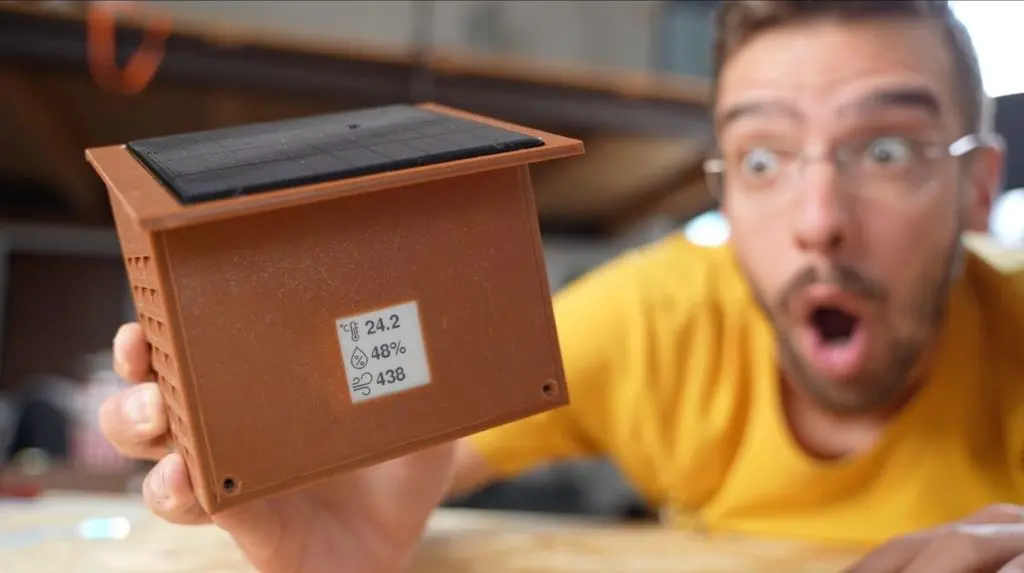
Celebrating Earth Day with a solar-powered E Ink weather station
Reading Time: 2 minutesThe world just recognized Earth Day and it was a good reminder that we all have a responsibility to protect the planet. Unfortunately, many of our devices suck up energy in direct opposition to that goal. But the market has proven that we aren’t willing to sacrifice convenience. Luckily, that isn’t always…
-

5 Google Play features for poetry lovers to try5 Google Play features for poetry lovers to tryDirector, Product Management, Google Play Books
Reading Time: 2 minutesApril is National Poetry Month — the perfect time to discover your favorite poems. Whether you want to dive into a powerful sonnet or enjoy the playful simplicity of a haiku, Google Play Books has features to help you enjoy reading poetry. Here are handy tips and tricks to take your poetry…
-
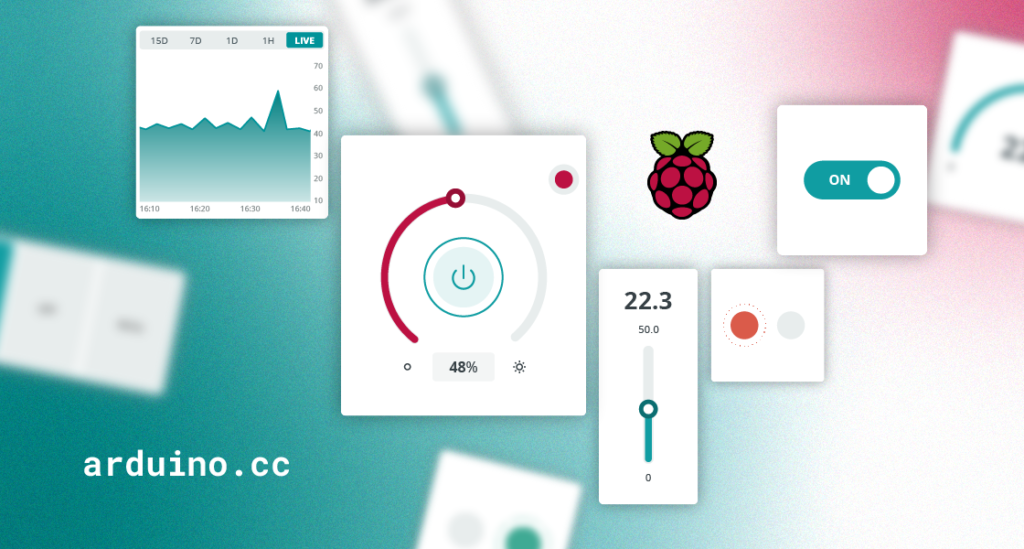
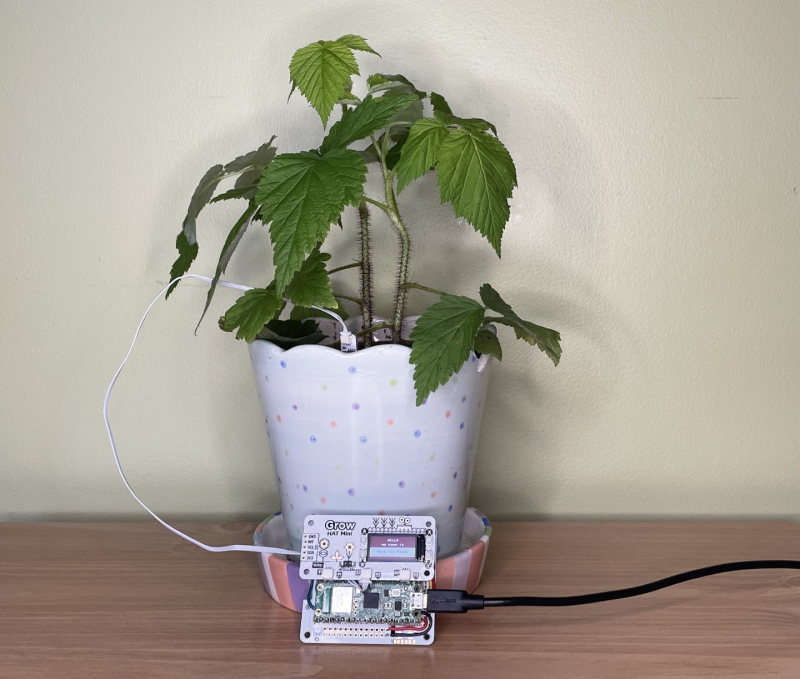
A guide to visualize your Raspberry Pi data on Arduino Cloud
Reading Time: 5 minutesHey there, DIY IoT enthusiasts! Ever build a cool gadget with your Raspberry Pi, only to get stuck figuring out how to show off its data? Don’t worry, you’re not alone. Lots of makers like you face the same challenge: turning that awesome sensor data into something easy to see and interact…
-

Win an ED-HMI3020 Touchscreen
Reading Time: < 1 minuteSave 35% off the cover price with a subscription to The MagPi magazine. UK subscribers get three issues for just £10 and a FREE Raspberry Pi Pico W, then pay £30 every six issues. You’ll save money and get a regular supply of in-depth reviews, features, guides and other Raspberry Pi…
-

Learning from our hybrid training programme for youth and community organisations
Reading Time: 5 minutesAt the Raspberry Pi Foundation, we aim to democratise access to digital skills and technologies. One of the ways we do this is via partnerships with youth and community organisations that deliver frontline services to young people experiencing educational disadvantage. In 2023 we delivered a hybrid training programme to 14 youth organisations…
-

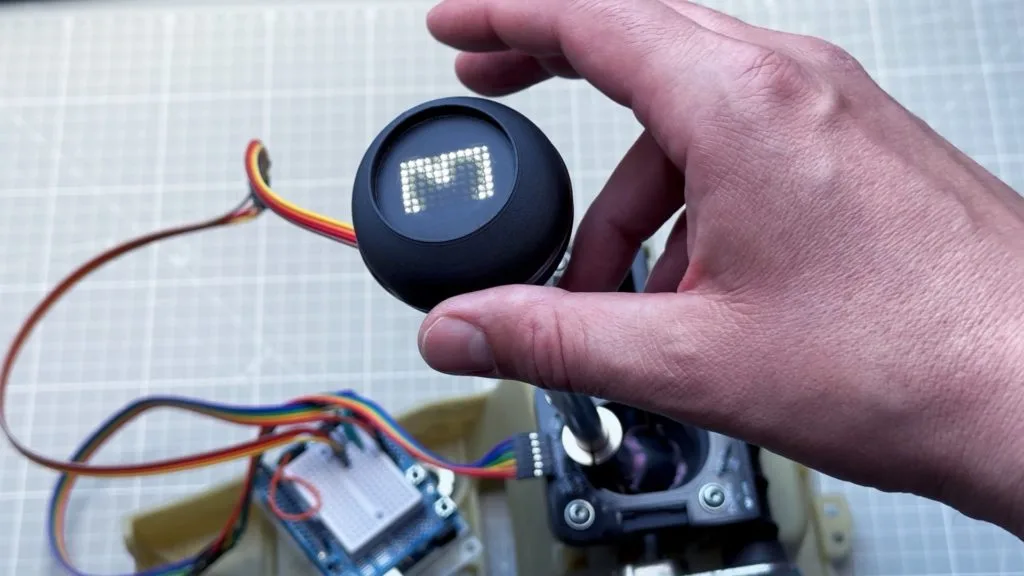
DIY shifter knob gets a beautiful integrated LED gear indicator
Reading Time: 2 minutesWe recently covered Vaclav Krejci’s stick shift project, in which he designed a board that surrounds the shift lever and uses Hall effect sensors to detect its position. It then displayed the current gear on a small OLED screen. The idea was that the user could mount that screen wherever they wanted…
-

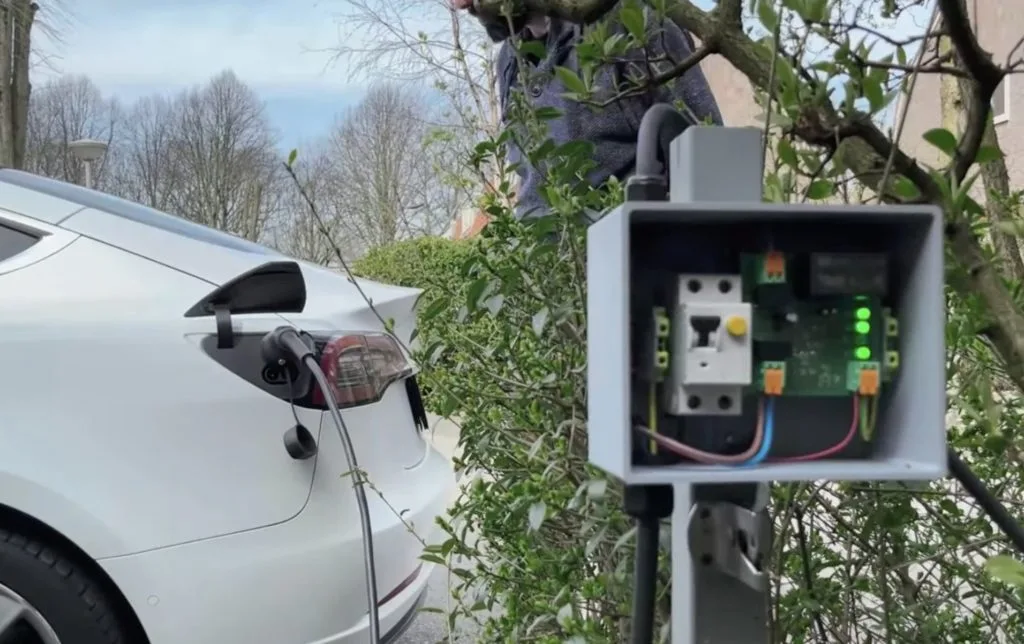
Creating a low-cost EV charging station with Arduino
Reading Time: 2 minutesThe high cost of EV (electric vehicle) chargers may lead you to believe that they’re complex systems. But with the exception of Tesla’s Supercharger, that isn’t true. They’re actually quite simple — basically just glorified switches. All of the nitty gritty charging details are the responsibility of the car’s onboard circuitry. With…
-

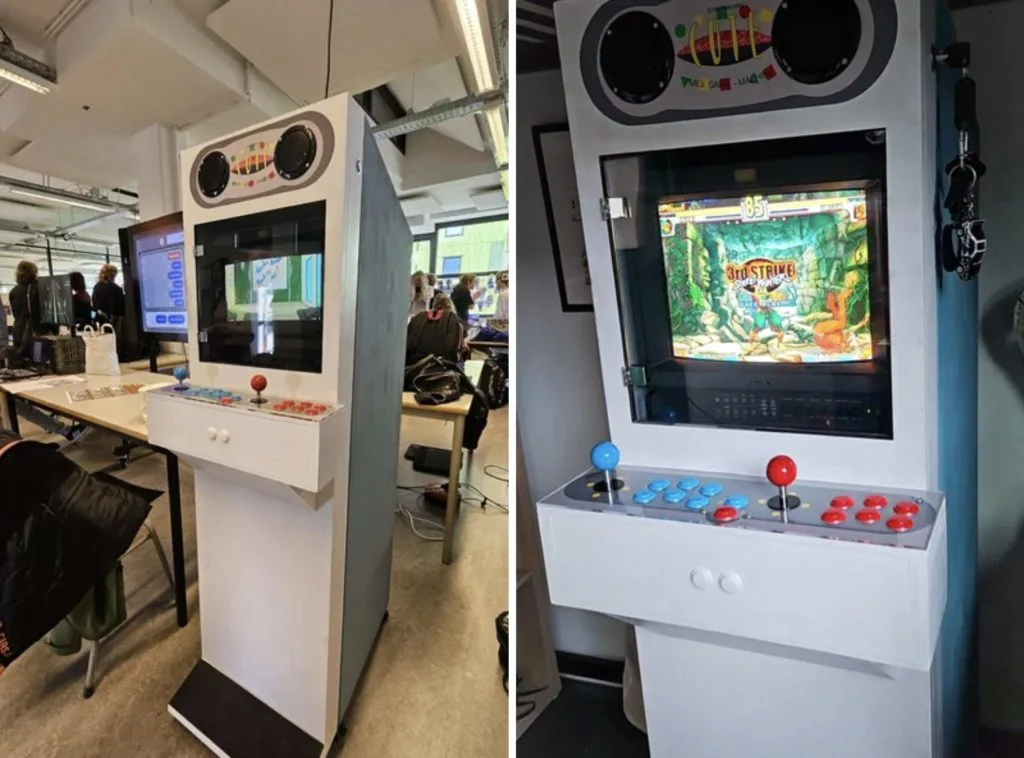
Build an adorable arcade cabinet with custom controls
Reading Time: 2 minutesArcade machines are a dying breed and that’s a shame, because their purpose-built approach to gaming is so wholesome. There is something intrinsically satisfying about a device that does one thing and does it well. If you want to bring that beauty into your own home, Migi has a great Instructables tutorial…
-
How to make energy saving really work
Reading Time: 4 minutesConserving energy is something every animal does, and we humans are no exception. Especially when energy costs are high — something many of us have been uncomfortably aware of in recent years — figuring out ways to live life without burning through excess fuel (and polluting the environment) is a serious priority.…
-

Young people’s Astro Pi code is sent to the International Space Station
Reading Time: 6 minutesYoung people taking part in the European Astro Pi Challenge are about to have their computer programs sent to the International Space Station (ISS). Astro Pi is run annually in collaboration by us and ESA Education, and offers two ways to get involved: Mission Zero and Mission Space Lab. This year, over…
-

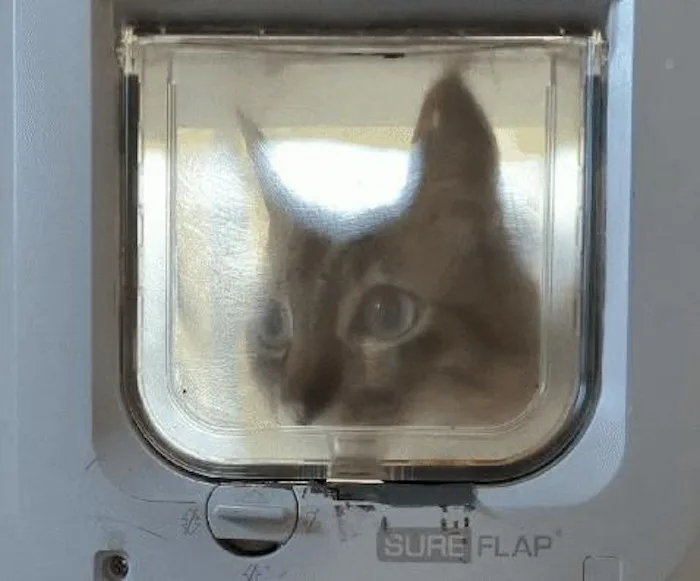
AI-powered pet flap tracks where your furry friend is
Reading Time: 2 minutesFor those who own a pet with the freedom to move between the house and the yard, keeping tabs on where they are can be a challenge, especially if there’s a pet flap involved. Instructables member “madmcu” wanted to know where their cat was whilst away from the house on vacation, so they came up…
-
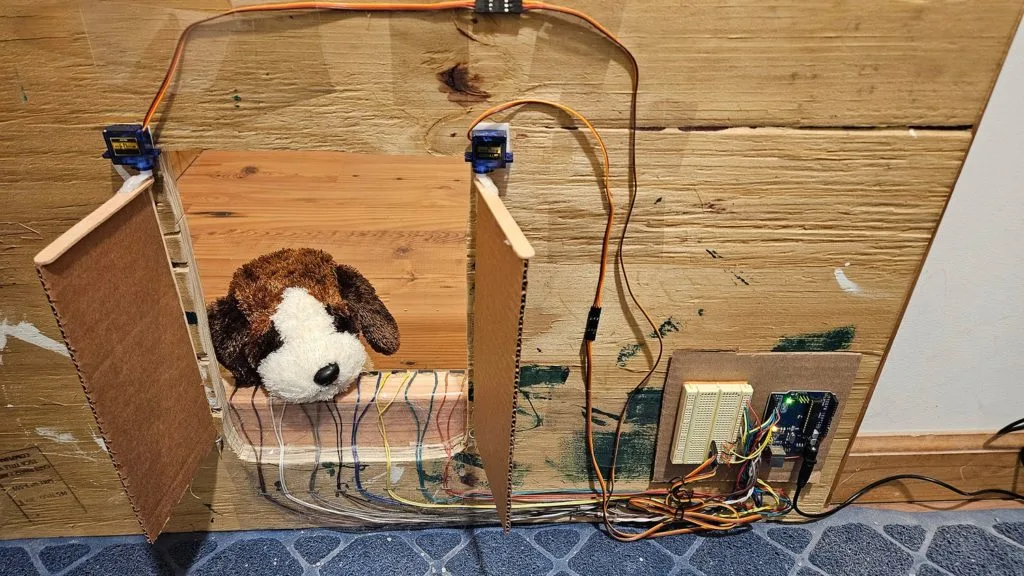
This DIY pet door helps keep a dog out of the cat’s litter box
Reading Time: 2 minutesScience Buddies had a problem: their tiny little pug loves eating their cat’s poop. Because the pug is smaller than the cat, they couldn’t simply put the litter box behind a tiny cat door. So they came up with a more sophisticated solution: a motorized door triggered by a magnetic collar. Riley…
-

Raspberry Pi 5 and Raspberry Pi Pico
Reading Time: 3 minutesRaspberry Pi 5 and Thonny IDE The easiest way to program Raspberry Pi Pico is with MicroPython, a Python-compatible programming language developed to run on microcontrollers. With Pico connected to Raspberry Pi 5 via USB, you can use the Thonny IDE (integrated development environment) application to write MicroPython programs and run them…
-

The best maker software by experience level
Reading Time: 6 minutesToday’s makers have access to the most advanced materials, resources, and support in history, and it’s improving all the time. The downside is that finding the right software can sometimes feel confusing and overwhelming. There are seemingly endless options, all with different attributes and advantages. In this article, we’re here to help…
-

Machine learning makes fabric buttons practical
Reading Time: 2 minutesThe entire tech industry is desperate for a practical wearable HMI (Human Machine Interface) right now. The most newsworthy devices at CES this year were the Rabbit R1 and the Humane AI Pin, both of which are attempts to streamline wearable interfaces with and for AI. Both have numerous drawbacks, as do…
-

Sandeep Mistry profile
Reading Time: 2 minutesAfter working for various companies as a software engineer in Ottawa, and also working remotely with Arduino, he started looking for a new way to use his expertise with embedded and mobile devices. There’s not much better place than Arm for that, and when an acquaintance of his mentioned a position coming…