Kategorie: Mobile
-

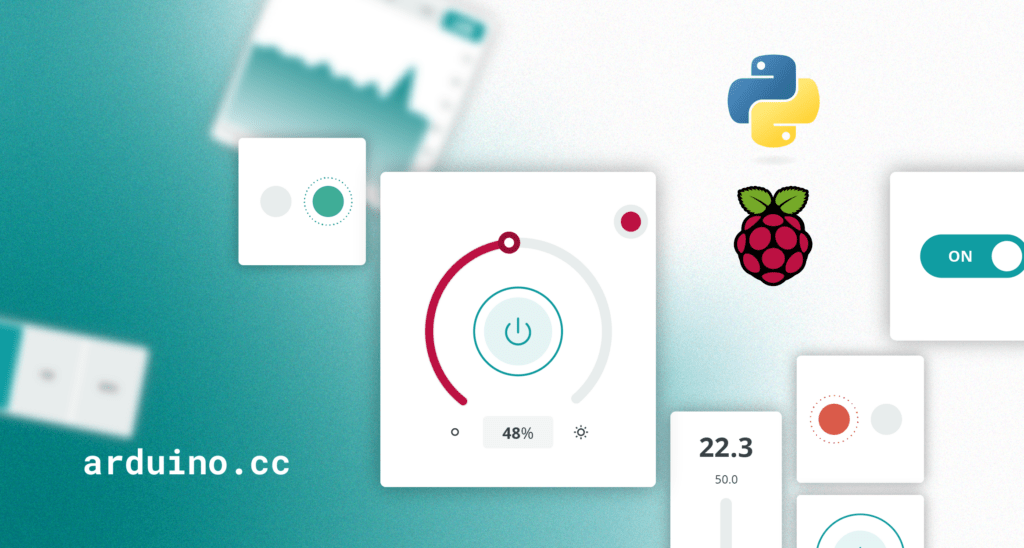
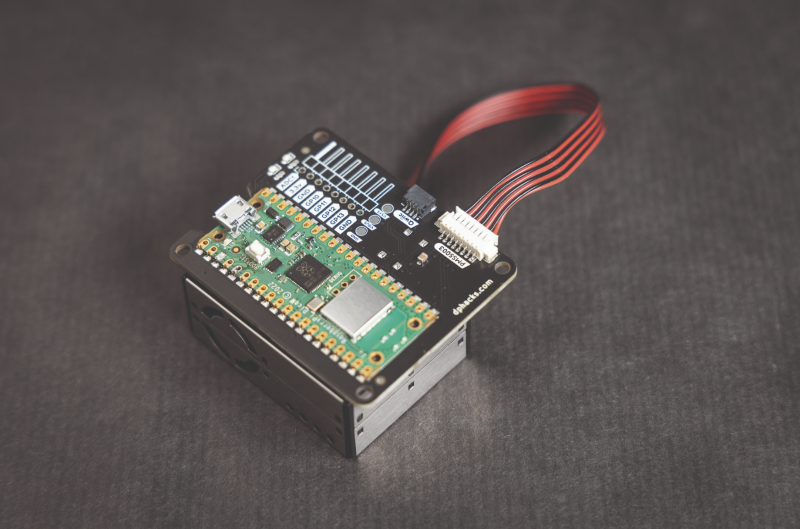
Control your Raspberry Pi GPIO with Arduino Cloud using Python | Part II
Reading Time: 5 minutesAs a Python developer, you’re probably eager to control and monitor your Raspberry Pi GPIOs remotely. Well, you have landed in the right place. This article builds upon our previous introduction to “Visualize your Raspberry Pi data with Arduino Cloud | Part I.” Now, we’ll explore using Python to configure Raspberry Pi…
-

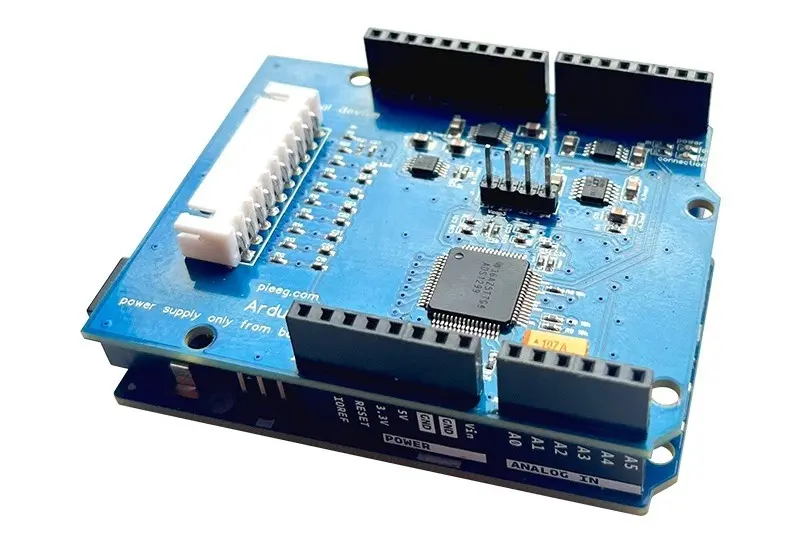
ardEEG is an Arduino UNO R4 WiFi shield for measuring biosignals
Reading Time: 2 minutesThe secrets to most of the mind’s mysteries may still elude us, but we’ve made a tremendous amount of progress in reading signals produced by the brain. We may not understand exactly what is going on, but we can see the result and utilize it. And now you can start exploring biosciences and experimenting…
-

Explore two ways to white label with Arduino Cloud
Reading Time: 4 minutesWe’re excited to announce a brand-new feature called “Custom Branding,” which allows Enterprise plan users to white label their workspace and enhance the overall user experience. This announcement is exciting because it empowers businesses to create a truly tailored environment within the Arduino Cloud platform, reflecting their brand identity and providing a…
-

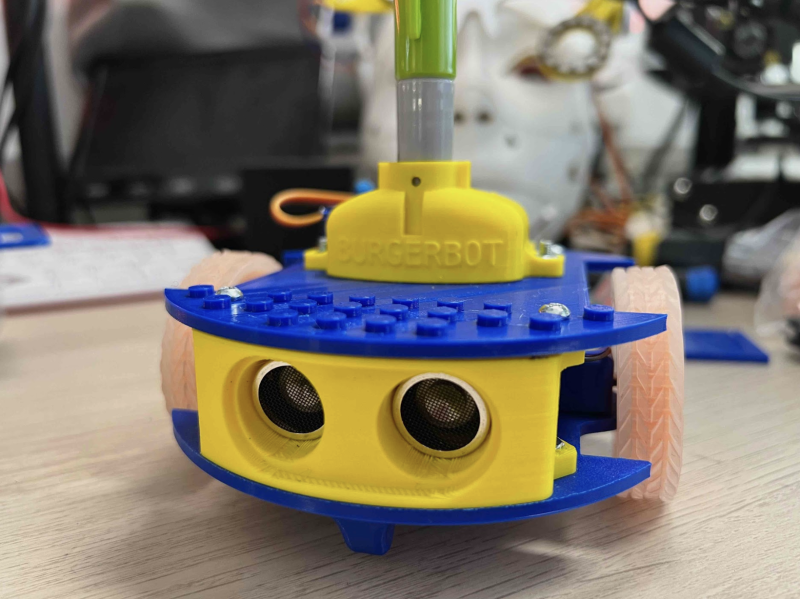
10 amazing: robot projects
Reading Time: 3 minutesBurgerBot Inedible round robot This Pico-powered robot is small and compact, and a great base for expanding and building bigger and more complex robots magpi.cc/burgerbot PicoTico Tic-tac-toe-bot Would you like to play a game of tic-tac-toe? This robot will play with you, but unlike WOPR (from 1983’s WarGames) it’s a bit more…
-

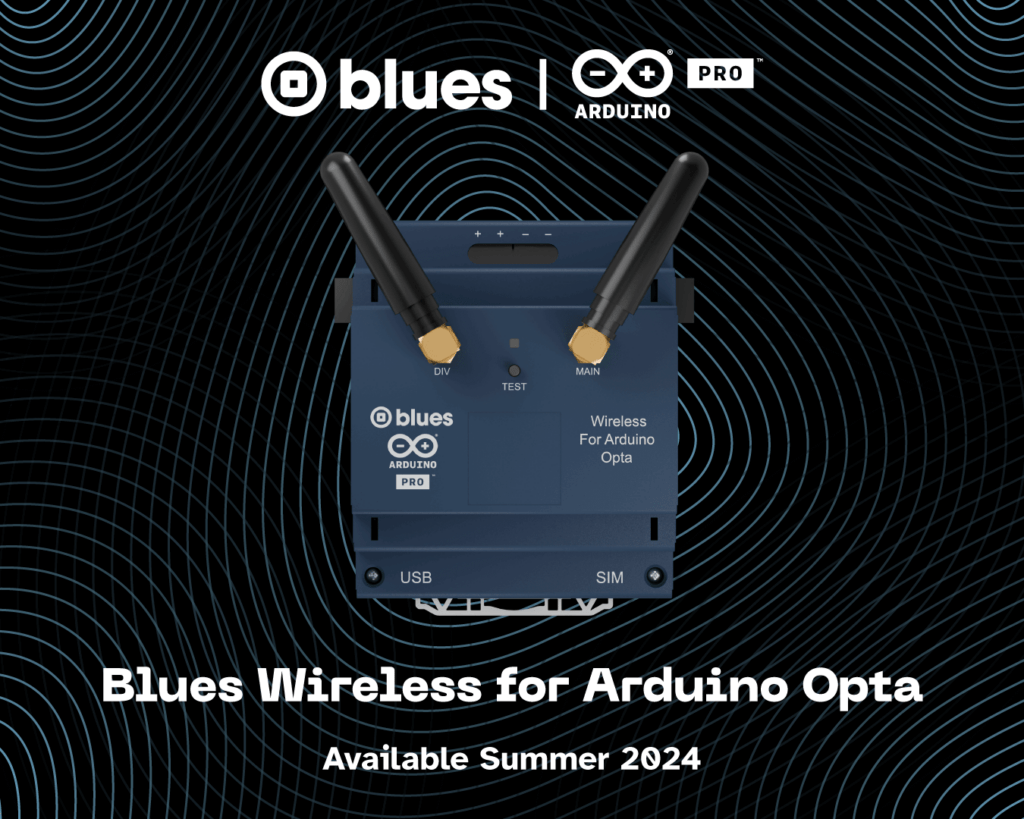
Expanding possibilities: Blues Wireless amplifies Opta’s connectivity
Reading Time: 2 minutesBlues Wireless and Arduino have joined forces to create the game-changing Blues Wireless for Arduino Opta, unveiled this week at the Automate Show in Chicago. The expansion module is an affordable solution to enhance connectivity options for Arduino Opta micro PLCs, and marks a significant milestone in PLC technology and in making…
-

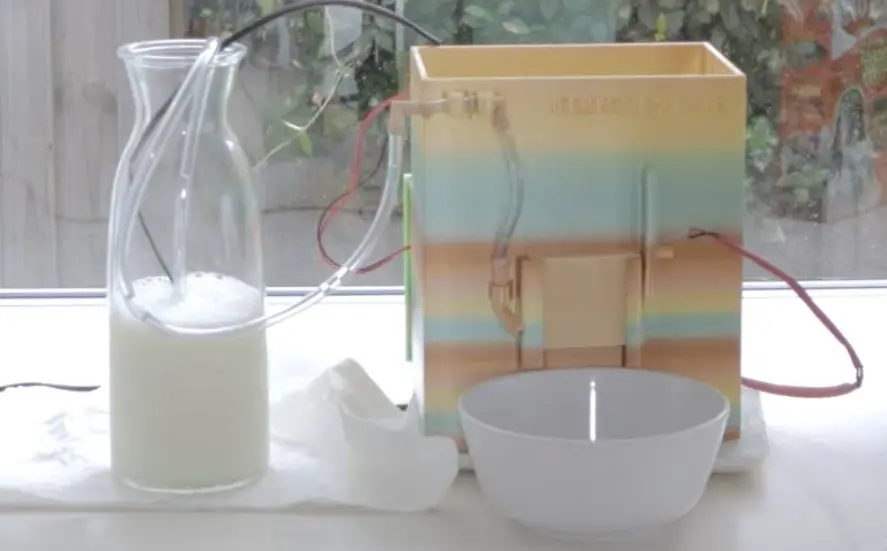
This Arduino-controlled machine dispenses the perfect bowl of cereal
Reading Time: 2 minutesBreakfast cereal is controversial. Milk or cereal first? Best cereal to milk ratio? Favorite cereal? Most attractive mascot? The opportunities for debate never end. But we can all agree that consistency is key when it comes to the milk:cereal ratio — nobody changes that up from day to day. To ensure that…
-

Gaining skills and confidence: The impact of Code Club and CoderDojo
Reading Time: 4 minutesThrough Code Club and CoderDojo we support the world’s largest network of free informal computing clubs for young people. Code Club is a global network of after-school coding clubs for learners aged 9 to 13, where educators and other volunteers help young people learn about coding and digital making CoderDojo is a…
-

Office space
Reading Time: 2 minutesThis has caused me a little bit of a quandary though. My desk in the office is my home away from home and I want to make it feel comfy and welcoming when I visit. However, I’m not there that often, so I can’t bring in stuff I need at home, where…
-

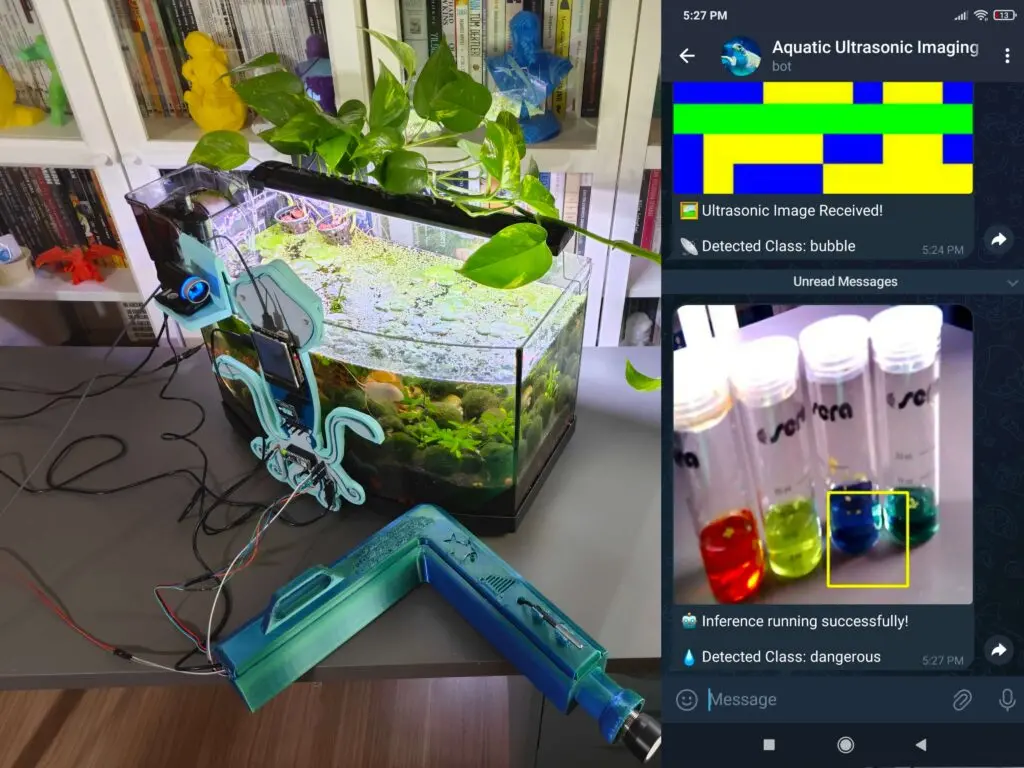
Assess your aquarium’s health with an AI-enabled ultrasonic sensor
Reading Time: 2 minutesBelow the surface of any body of water, harmful amounts of toxic gases and contaminates can accumulate, which leads to a loss in fish and plant populations if not fixed quickly. But because most water testing, especially in aquariums, is done primarily on the surface, vital information gets missed. Kutluhan Aktar’s automated testing…
-

Create your own affordable Arduino-powered smart glasses
Reading Time: 2 minutesWhen Google Glass launched in 2013, the public opinion seemed to be “interesting technology, but the world isn’t ready yet.” Now that more than a decade has passed, the world may finally be ready — especially with the omission of controversial features like video recording. If that appeals to you, then Akashv44…
-
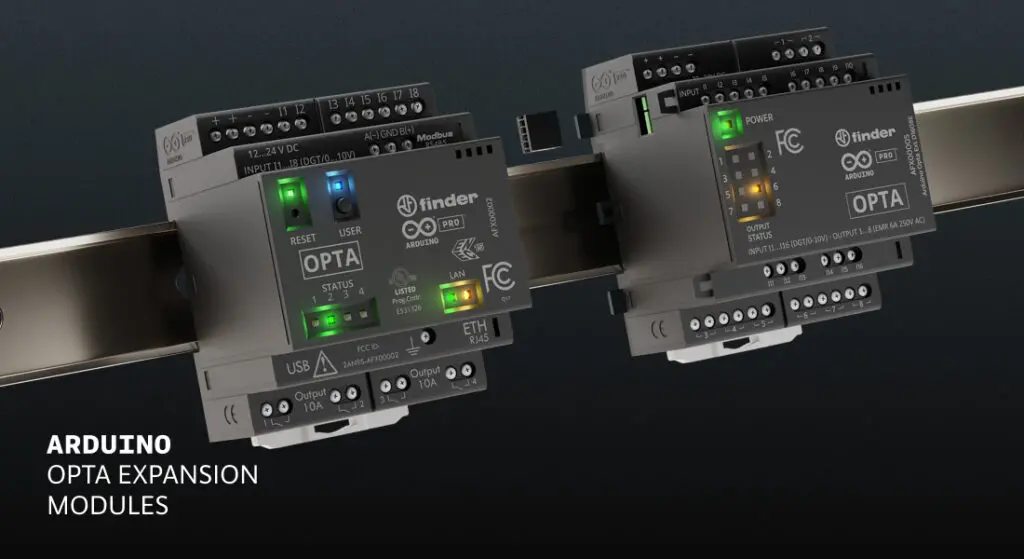
Introducing Opta Expansions: scalable simplicity!
Reading Time: 2 minutesLast year, we launched the Arduino Pro Opta: it was an instant success with our community, and allowed us to reach PLC engineers with a new solution specifically designed for their needs. To further expand Opta’s capabilities, today the Arduino ecosystem welcomes various expansions that allow you to add new I/Os in…
-

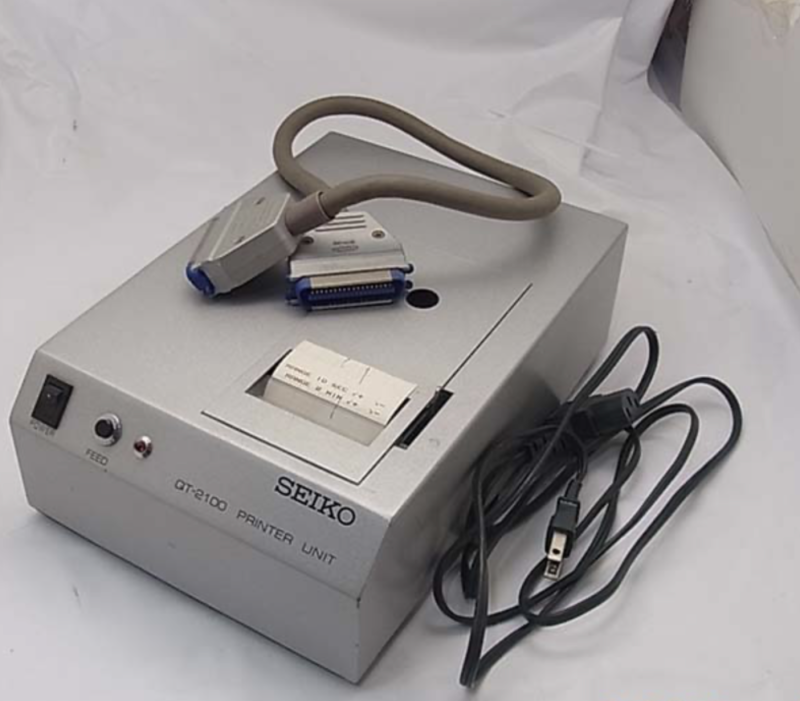
Retro printer
Reading Time: 4 minutes“I was working at Heathrow Airport developing controls software for a baggage handling line in 1999 when we decided it would be useful to attach a dot matrix printer to keep track of errors and how the code was treating each piece of luggage passing through the system,” he explains. “The choices…
-

Galco goes Platinum! Welcome our newest SIPP
Reading Time: 2 minutesFounded in 1975 and headquartered in Madison Heights, Michigan, Galco is a leading e-commerce distributor that specializes in providing a wide range of industrial and commercial electrical and electronic products, focusing on maintenance, repair, and operations (MRO). Known for strong expertise in sourcing hard-to-find, high-quality products and guaranteeing exceptional customer service –…
-

Meet André Costa: the brains behind rpilocator
Reading Time: 3 minutesThe service we now know as rpilocator started off as cm4locator, with André coding it during a couple of days off. Initially it was private, and within a couple of days it had helped him locate – and buy – a Raspberry Pi Zero 2 W. Surprised at how easy it was,…
-

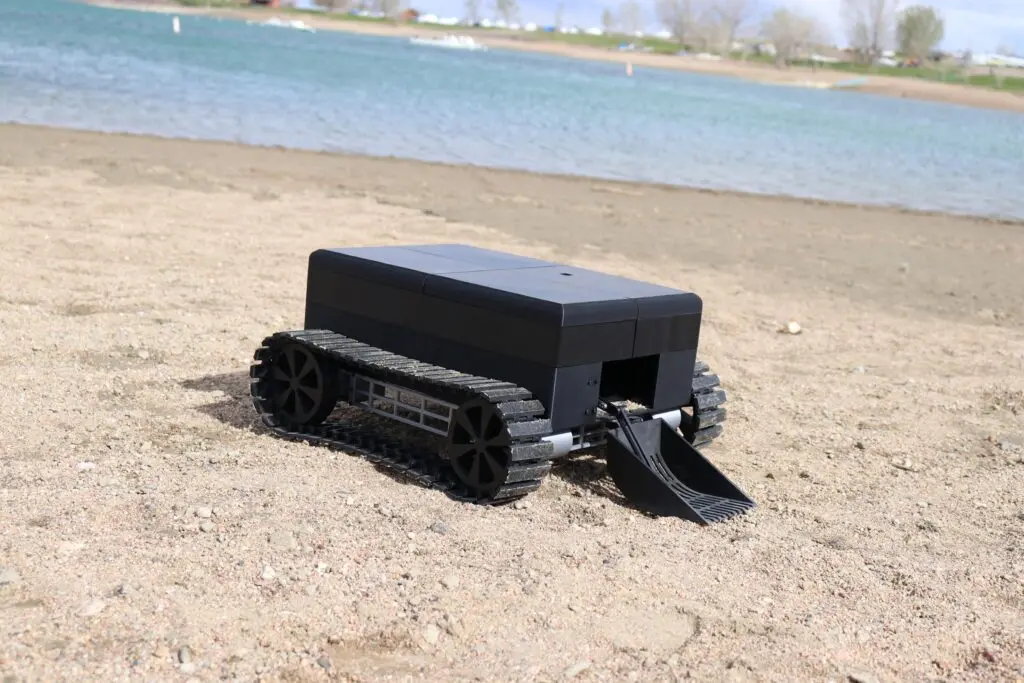
Seaside Sweeper keeps beaches pristine
Reading Time: 2 minutesWithout anyone caring for them, beaches quickly become trash-covered swaths of disappointment. That care is necessary to maintain the beautiful sandy havens that we all want to enjoy, but it requires a lot of labor. A capstone team of students from the University of Colorado Boulder’s Creative Technology & Design program recognized…
-

Improve indoor air quality with Arduino
Reading Time: 4 minutesWhen we think about air quality and pollution, it’s easy to conjure up images of smog-filled cities and power plants churning clouds of poison into the atmosphere. And while all this is still important, and has massive consequences for our health, it’s all too easy to overlook the air pollution that takes…
-

An update from the Raspberry Pi Computing Education Research Centre
Reading Time: 7 minutesIt’s been nearly two years since the launch of the Raspberry Pi Computing Education Research Centre. Today, the Centre’s Director Dr Sue Sentance shares an update about the Centre’s work. The Raspberry Pi Computing Education Research Centre (RPCERC) is unique for two reasons: we are a joint initiative between the University of…
-

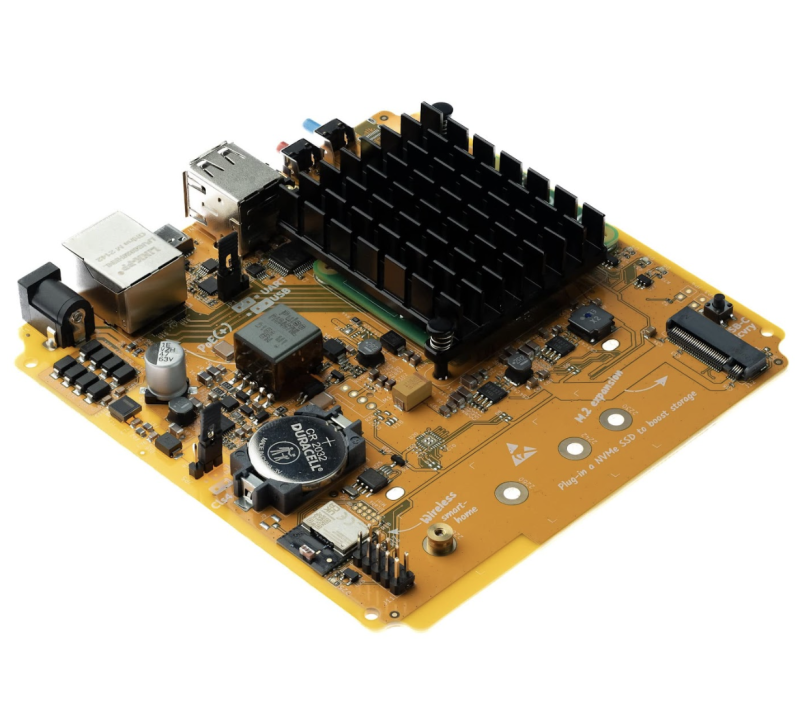
Home Assistant Yellow review
Reading Time: 2 minutesSetting up the device is very simple, although depends slightly on the version you get. The kit that comes with a Compute Module 4 already installed is basically ready to go, just requiring you to get it set up for your network and IoT add-ons. If you’re adding the Compute Module, you…
-

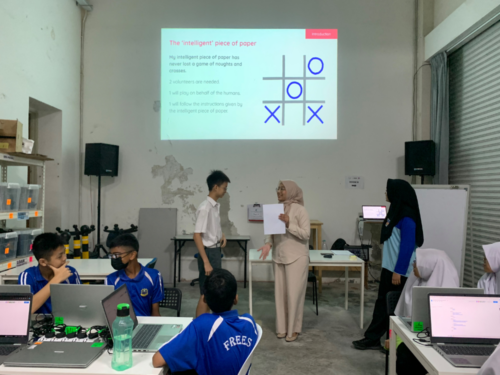
Teaching a generation of AI innovators in Malaysia with Experience AI
Reading Time: 4 minutesToday’s blog is from Aimy Lee, Chief Operating Officer at Penang Science Cluster, part of our global partner network for Experience AI. Artificial intelligence (AI) is transforming the world at an incredible pace, and at Penang Science Cluster, we are determined to be at the forefront of this fast-changing landscape. The Malaysian…
-
Join us in Chicago at Automate Show 2024!
Reading Time: 2 minutesWe’re ready to bring our unconventional take on automation to one of North America’s leading industry events: come meet us at Automate Show in Chicago, taking place May 6th-9th, to find out more about open-source hardware and software solutions unlocking new opportunities to empower engineers and educators alike. Here are five great…
-

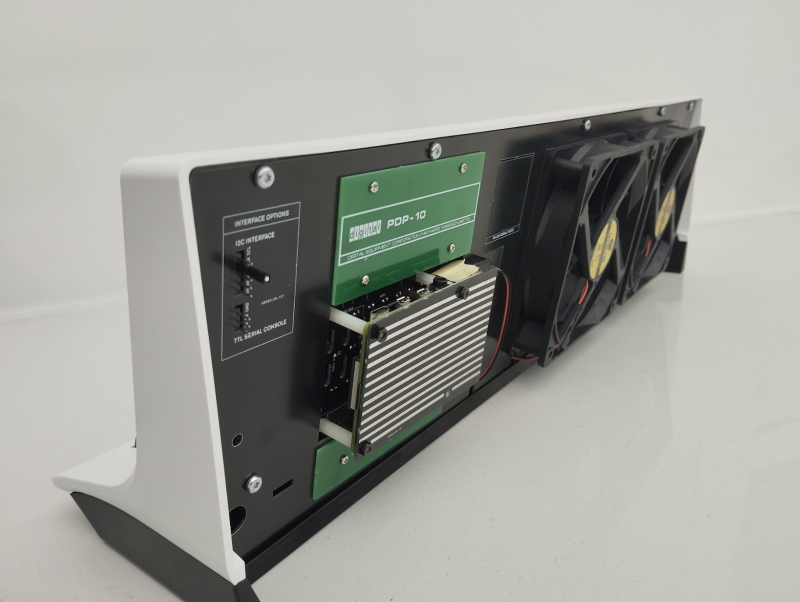
PiDP-10
Reading Time: 4 minutesMainframes were actually quite boring machines to work with. You created punch-cards, fed them in, waited, then a response was printed out. DEC’s PDP-10 was the first to be truly interactive. It was DEC’s decision in 1968 to provide a unit to MIT that really sealed its place in history. For the…
-

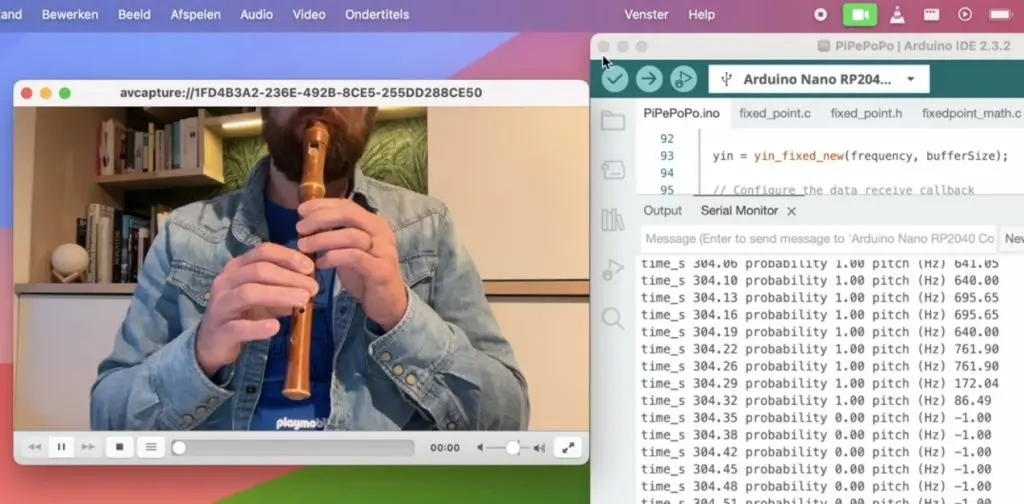
This Arduino Nano RP2040 Connect-powered flute blows your PC’s mouse away
Reading Time: 2 minutesThe computer mouse has existed in its current form since the late 1970s. But as musician and software engineer Joren Six points out, it can become boring after a while. His novel reinvention of the mouse eschews moving a physical interface in favor of sound, with different frequencies causing the cursor to move in…