Kategorie: Linux
-

Experience CS: a new way to teach computer science
Reading Time: 4 minutesI am delighted to announce Experience CS, a free, integrated computer science curriculum for elementary and middle school students (8–14 years old) that will be available in June 2025. Experience CS enables educators to teach computer science through a standards-aligned curriculum that integrates computer science concepts and knowledge into core subjects like…
-

Practical AI in the Raspberry Pi Official Magazine
Reading Time: 2 minutesWe’ve filled the magazine with tutorials and hands-on projects – as always, a lot of these come from the fantastic Raspberry Pi user community, without which we’d be nothing. Thank you to everyone who’s ever built a project with Raspberry Pi, and special thanks to the subscribers who make this magazine possible.…
-

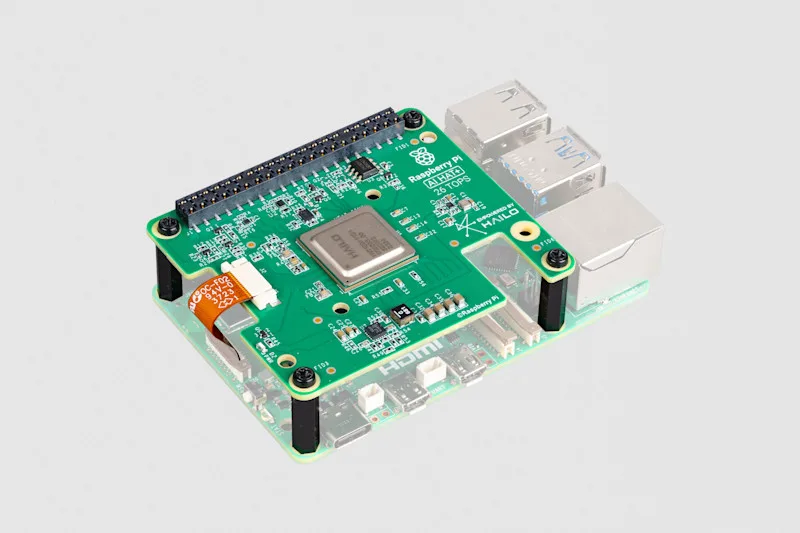
Win one of three 26 TOPS AI HAT+
Reading Time: < 1 minuteSave 35% off the cover price with a subscription to Raspberry Pi Official Magazine. UK subscribers get three issues for just £10 and a FREE Raspberry Pi Pico W, then pay £30 every six issues. You’ll save money and get a regular supply of in-depth reviews, features, guides and other Raspberry…
-

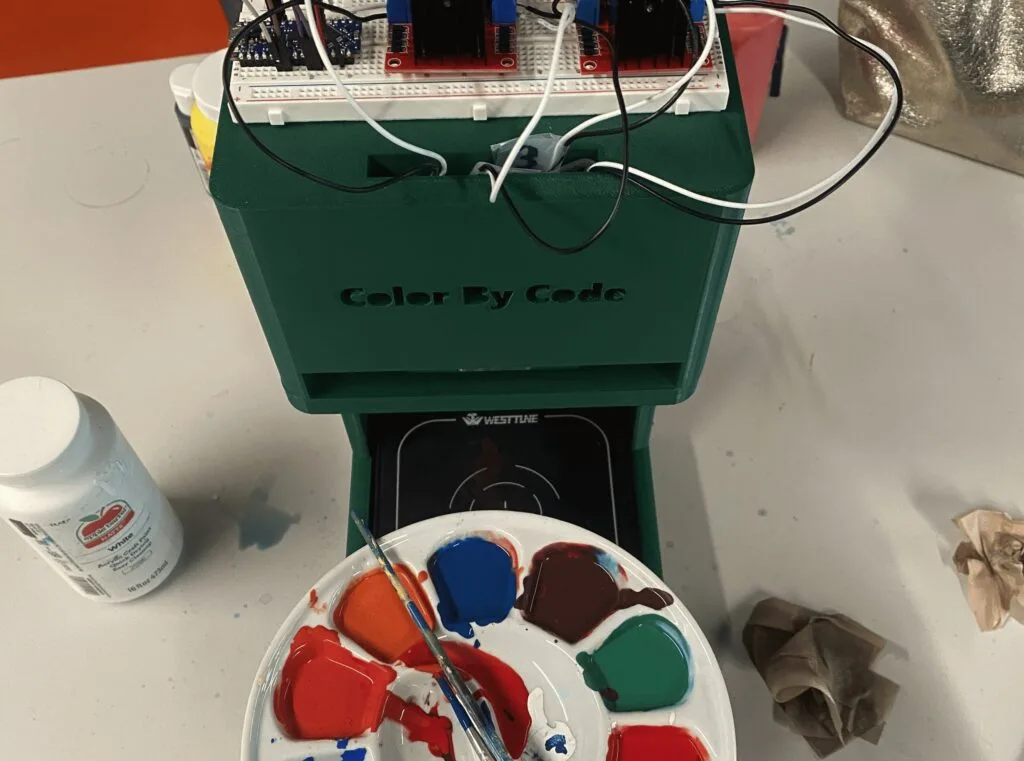
This Arduino Nano Every-controlled machine automatically mixes acrylic paint of any color
Reading Time: 2 minutesWhen you want to paint the walls in your bedroom that very specific shade of Misty Irish Green, all you have to do is head to your local hardware store and have them scan the corresponding card. The paint-mixing machine will then add the pigment to a white base and, a few…
-

Three ways to help students learn about the impact of technology
Reading Time: 5 minutesAs adults, it’s easy for us to see the impact technology has had on society and on our lives. Yet when I tell pupils that, within my lifetime, it wasn’t always illegal to hold your mobile phone to your ear and have a call while driving, they are horrified. They are living…
-

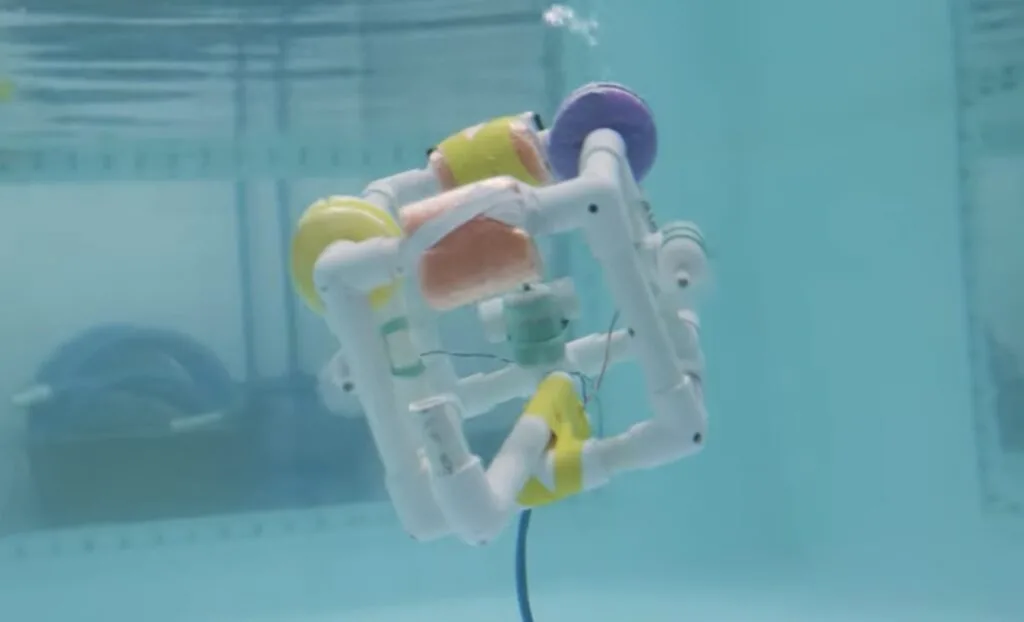
SeaPerch II introduces students to underwater ROV exploration
Reading Time: 2 minutesWhile professionals around the world take advantage of Arduino products and the extensive ecosystem, the core Arduino philosophy is to simplify complex technology. A bare microcontroller is intimidating to the uninitiated, but an Arduino development board is friendly and approachable. MIT’s Sea Grant is harnessing that in their new SeaPerch II underwater…
-

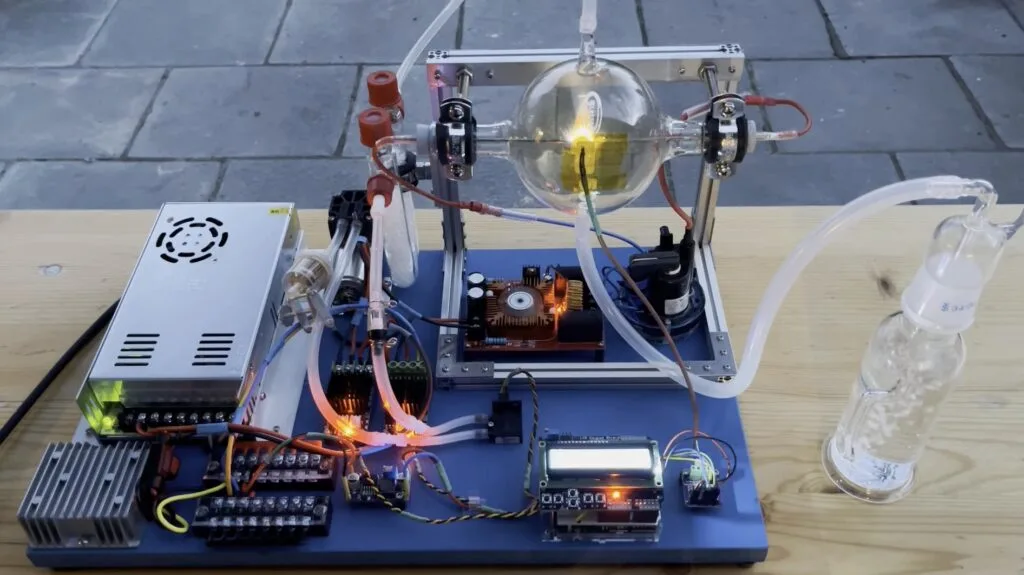
This DIY experimental reactor harnesses the Birkeland-Eyde process
Reading Time: 2 minutesNitrogen is critical for farming at scale and without some form of nitrogen to enrich the soil, we couldn’t grow staple crops efficiently enough to feed our large global population. Serious science goes into the production of fertilizers and the Birkeland-Eyde process was one early example. It uses electrical arcs to turn…
-

Arduino Days 2025 is almost here!
Reading Time: 2 minutesWith just a few days to go, Arduino Days 2025 promises to be one of the biggest and most exciting events in our 20-year history! Join us for two days of live-streamed content on March 21st-22nd, featuring inspiring talks, major product announcements, and community showcases from makers, educators, and industry leaders worldwide.…
-

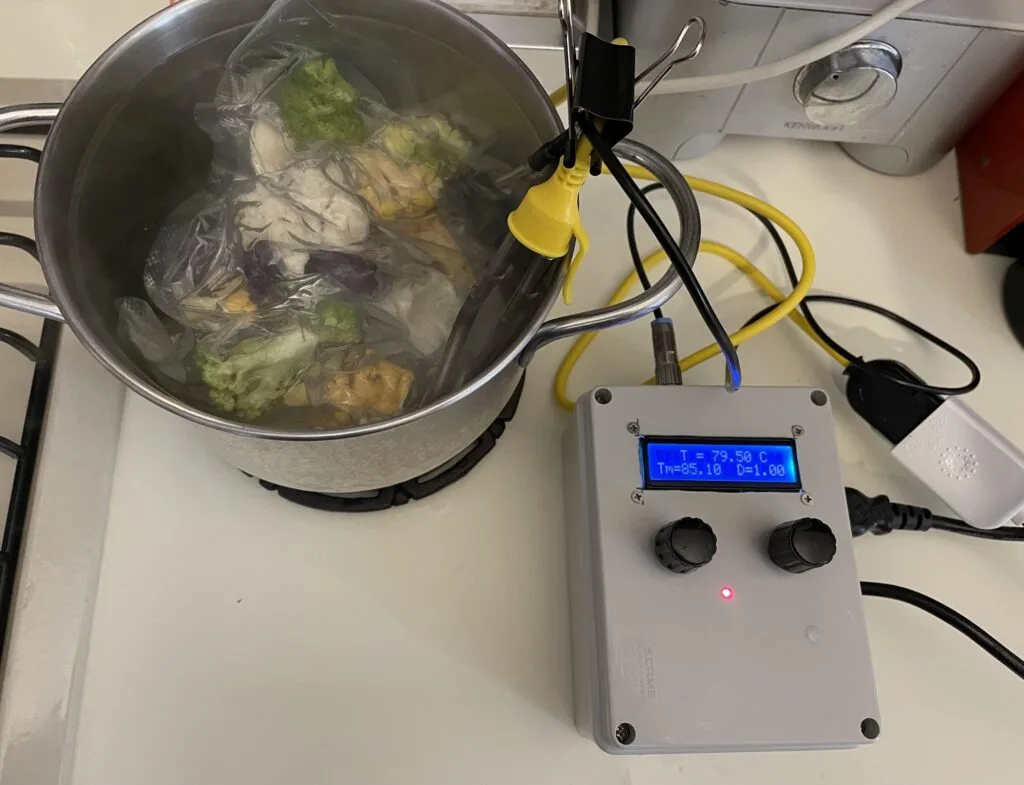
A DIY sous vide cooker for making the perfect steak
Reading Time: 2 minutesSous vide (which means “under vacuum” in French) is a cooking technique in which food is sealed in a plastic bag (or another container) and immersed in warm water for a long period of time. It is great for meat, like steak, because it ensures the food is an even temperature throughout.…
-

Celebrating young tech creators at Coolest Projects Ireland 2025
Reading Time: 4 minutesEarlier this month, young creators gathered at the Sport Ireland Campus National Indoor Training Centre in Dublin for Coolest Projects Ireland 2025, an inspiring showcase of creativity, coding, and problem solving. With more than 80 participants sharing over 60 incredible projects, this year’s event highlighted the passion and innovation of young creators…
-

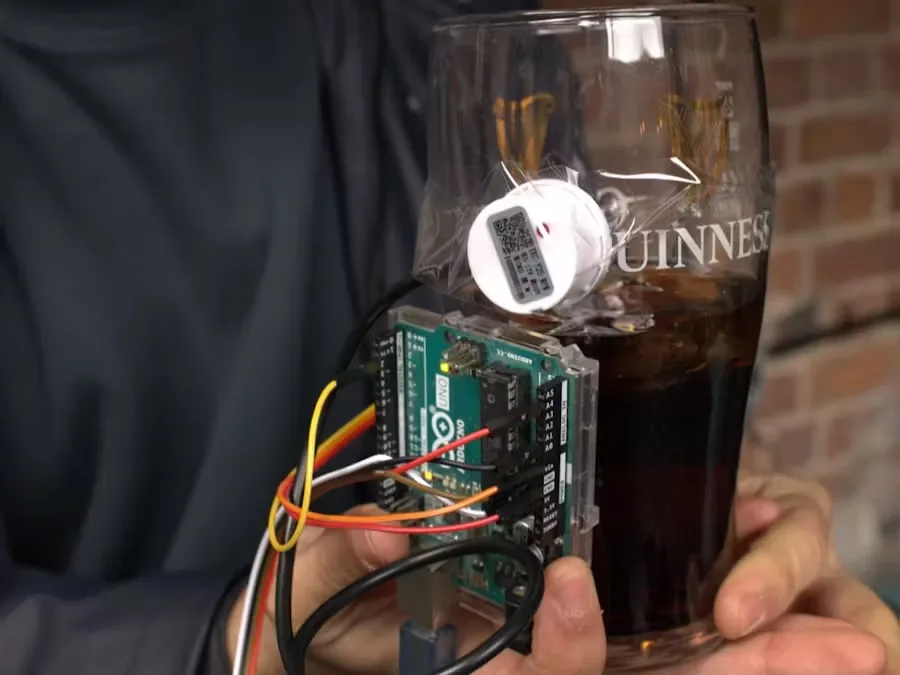
This Arduino device helps ‘split the G’ on a pint of Guinness
Reading Time: 2 minutesGuinness is one of those beers (specifically, a stout) that people take seriously and the Guinness brand has taken full advantage of that in their marketing. They even sell a glass designed specifically for enjoying their flagship creation, which has led to a trend that the company surely appreciates: “splitting the G.”…
-

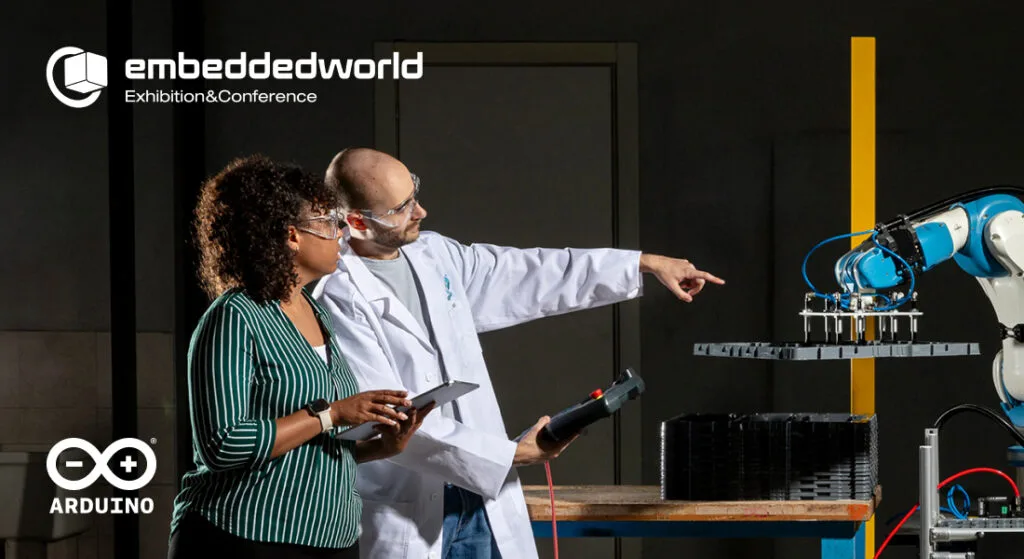
Come visit Arduino at Embedded World 2025!
Reading Time: 2 minutesWe’re gearing up for Embedded World, the leading event for embedded systems, industrial automation, and IoT technology, taking place March 11th-13th in Nuremberg. Visit us in Hall 3A, Booth 313 to explore our latest innovations and experience more live demos than ever, thanks to key collaborations across the industrial landscape. This year,…
-

Integrating generative AI into introductory programming classes
Reading Time: 6 minutesGenerative AI (GenAI) tools like GitHub Copilot and ChatGPT are rapidly changing how programming is taught and learnt. These tools can solve assignments with remarkable accuracy. GPT-4, for example, scored an impressive 99.5% on an undergraduate computer science exam, compared to Codex’s 78% just two years earlier. With such capabilities, researchers are…
-
A lightweight file server running entirely on an Arduino Nano ESP32
Reading Time: 2 minutesHome file servers can be very useful for people who work across multiple devices and want easy access to their documents. And there are a lot of DIY build guides out there. But most of them are full-fledged NAS (network-attached storage) devices and they tend to rely on single-board computers. Those take…
-

This vending machine draws generative art for just a euro
Reading Time: 2 minutesIf you hear the term “generative art” today, you probably subconsciously add “AI” to the beginning without even thinking about it. But generative art techniques existed long before modern AI came along — they even predate digital computing altogether. Despite that long history, generative art remains interesting as consumers attempt to identify…
-

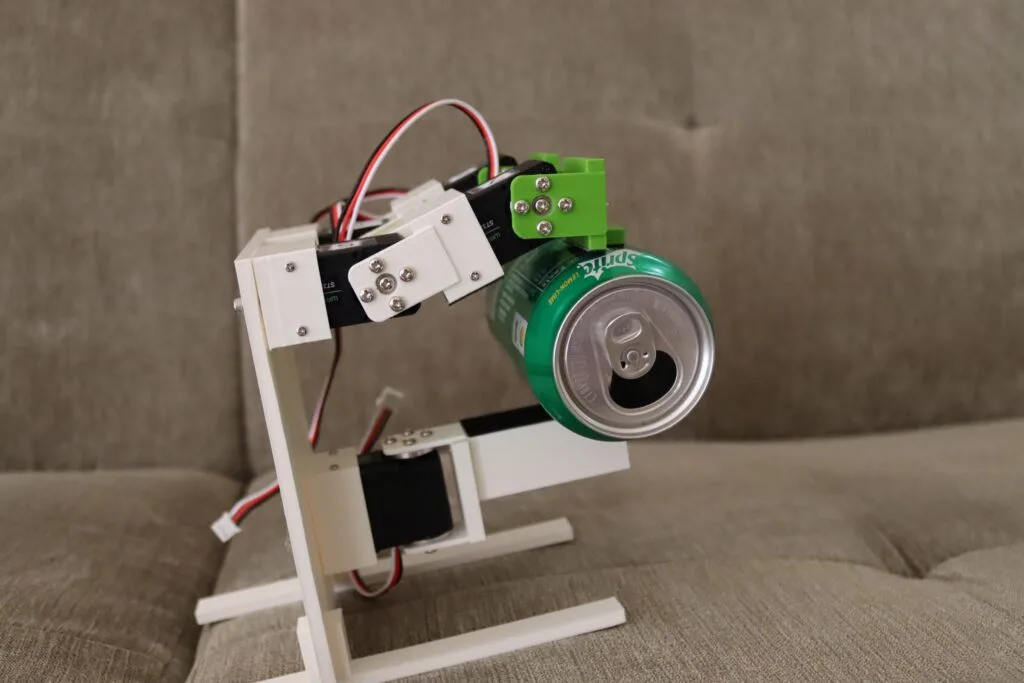
This three-fingered robot hand makes use of serial bus servos
Reading Time: 2 minutesA small startup called K-Scale Labs is in the process of developing an affordable, open-source humanoid robot and Mike Rigsby wanted to build a compatible hand. This three-fingered robot hand is the result, and it makes use of serial bus servos from Waveshare. Most Arduino users are familiar with full-duplex serial communication,…
-
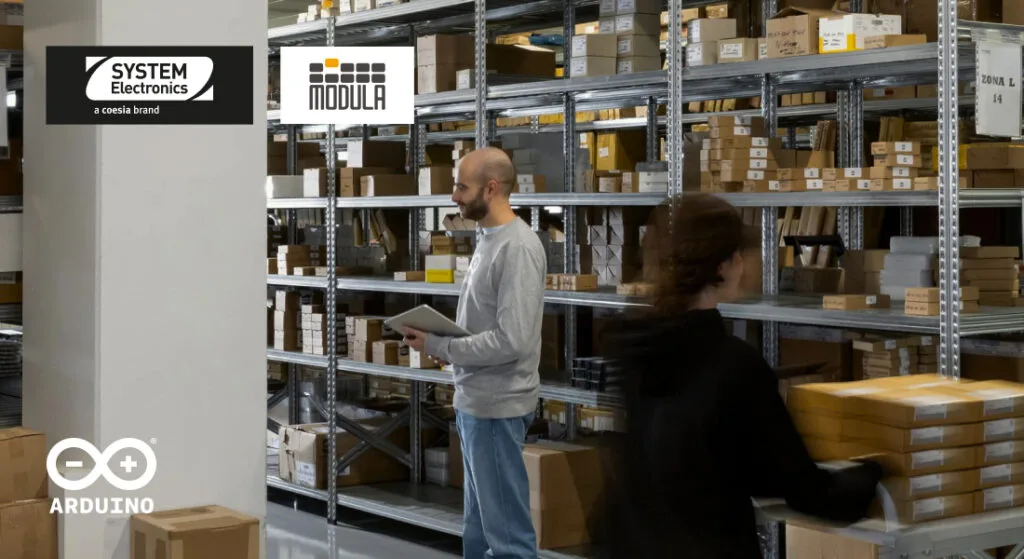
Arduino and System Electronics partner for industrial vision and AI-powered inventory and logistics
Reading Time: 3 minutesArduino and System Electronics are joining forces to create cutting-edge solutions for industrial and building automation, focusing specifically on edge computing to deliver real-time processing, predictive analytics, and seamless integration for AI-driven inventory management and logistics. System Electronics – as an “Innovation accelerators for over 50 years” – brings to the table…
-
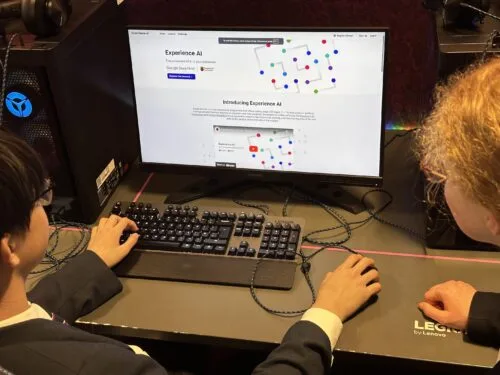
Experience AI: The story so far
Reading Time: 5 minutesIn April 2023, we launched our first Experience AI resources, developed in partnership with Google DeepMind to support educators to engage their students in learning about the topic of AI. Since then, the Experience AI programme has grown rapidly, reaching thousands of educators all over the world. Read on to find out…
-
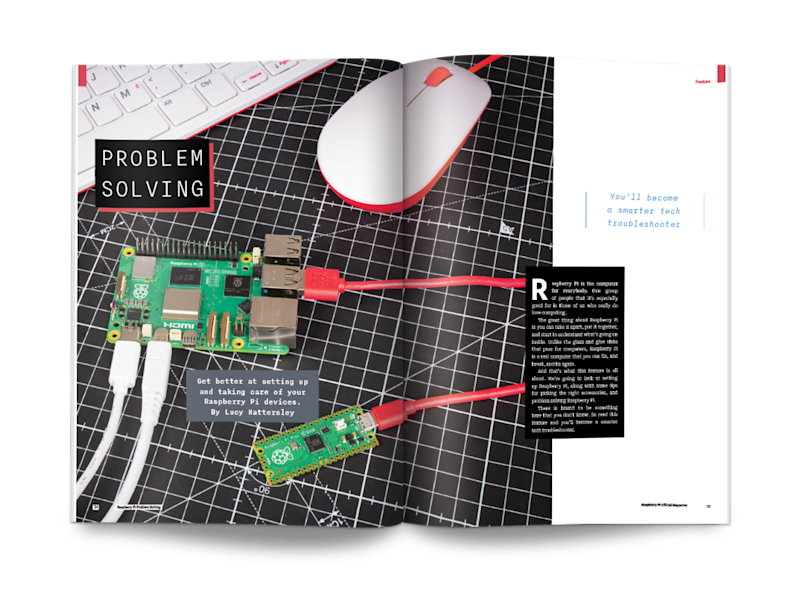
Discover the all-new Raspberry Pi Official Magazine
Reading Time: 3 minutesWe’re hugely proud of the new magazine. It’s got all the amazing features that made The MagPi such a success, but with a new design that’s easier to read, better at displaying code, and more in sync with Raspberry Pi’s amazing documentation and tutorials. Thank you again to everybody who supports us…
-

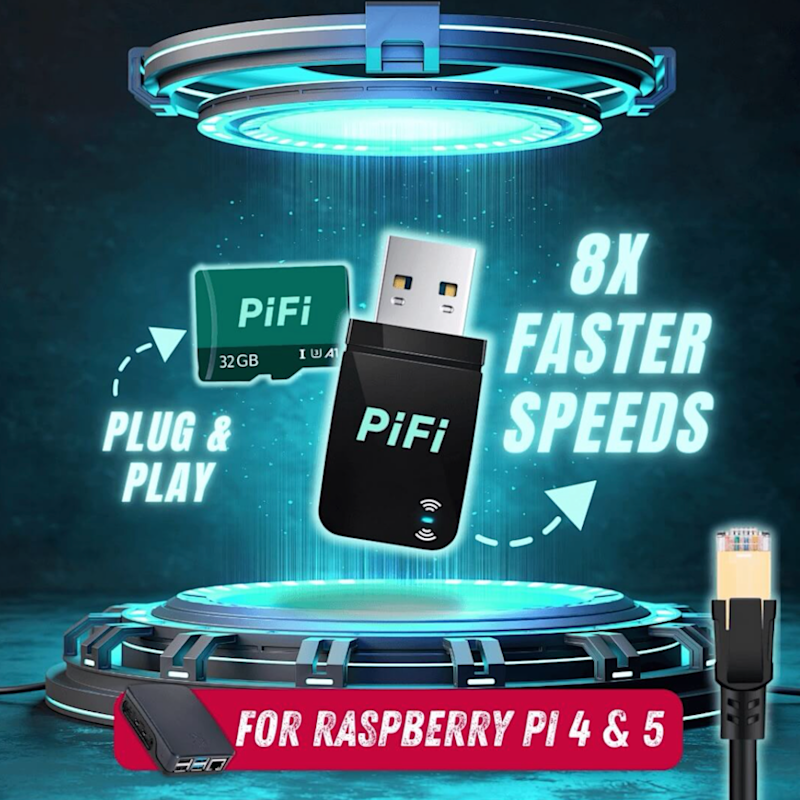
Win one of five PiFi kits
Reading Time: < 1 minuteEver been in a hotel or AirBnB with rubbish WiFi? Make it better by using a Raspberry Pi with PiFi, a powerful dongle that let’s you create a secure wireless router with a Raspberry Pi – including VPN capabilities. We have five to give away, and you can enter below…
-

Teaching about AI – Teacher symposium
Reading Time: 5 minutesAI has become a pervasive term that is heard with trepidation, excitement, and often a furrowed brow in school staffrooms. For educators, there is pressure to use AI applications for productivity — to save time, to help create lesson plans, to write reports, to answer emails, etc. There is also a lot…
-

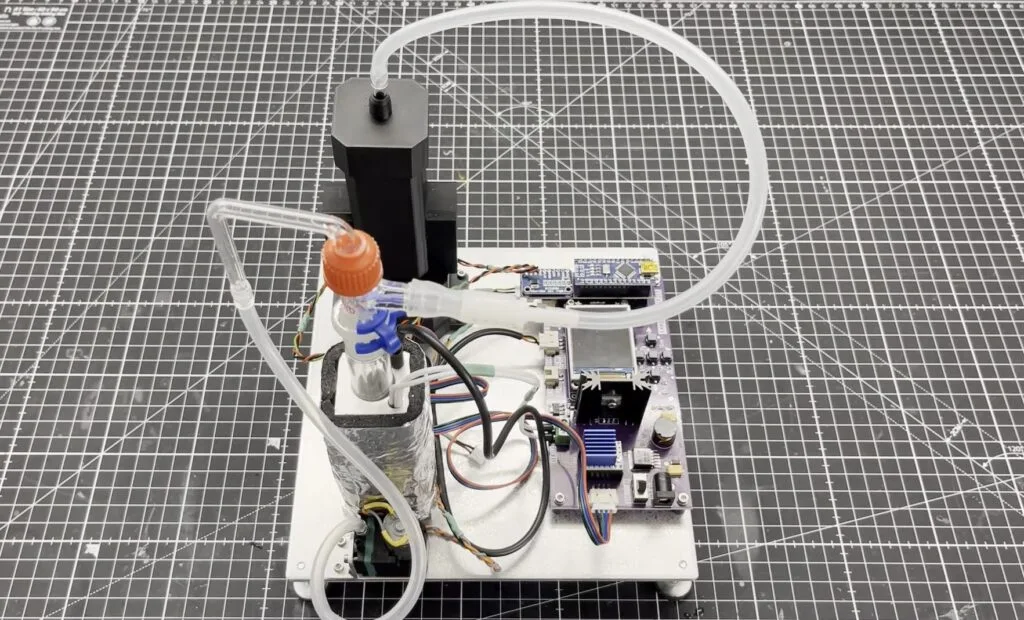
DIY micro lab analyzes ammonia levels in blood and urine
Reading Time: 2 minutesCirrhosis of the liver is an extremely serious condition that requires extensive medical monitoring and often intervention. Progression of the condition can be fatal, so even if caught early it must be monitored closely. But, like most things in medicine, that gets expensive. That’s why Marb built his own DIY “micro lab”…