Teaching Experience AI: Lessons from educators in Mexico
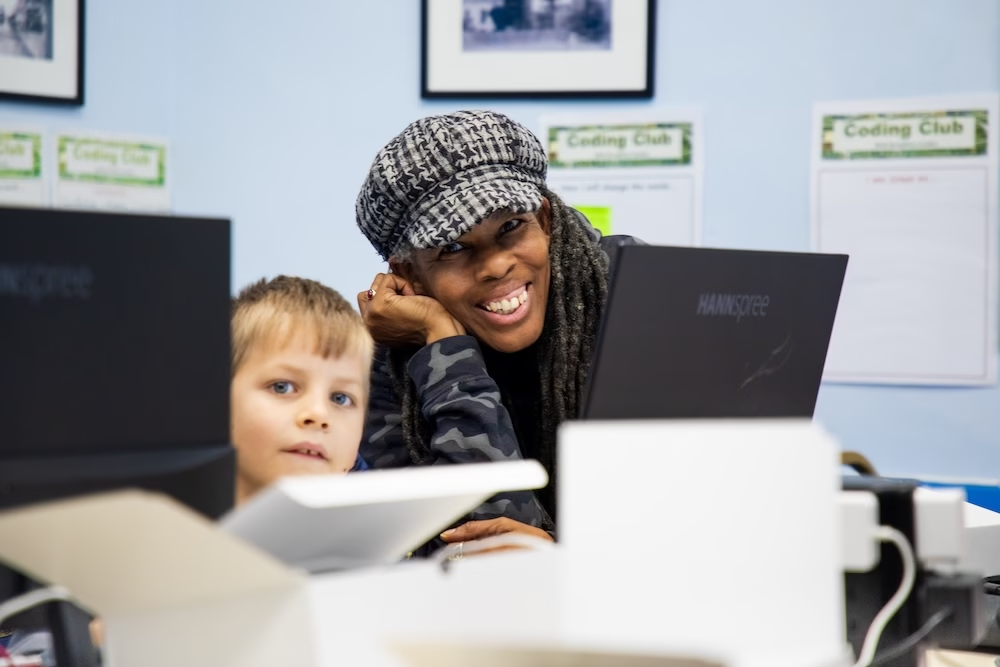
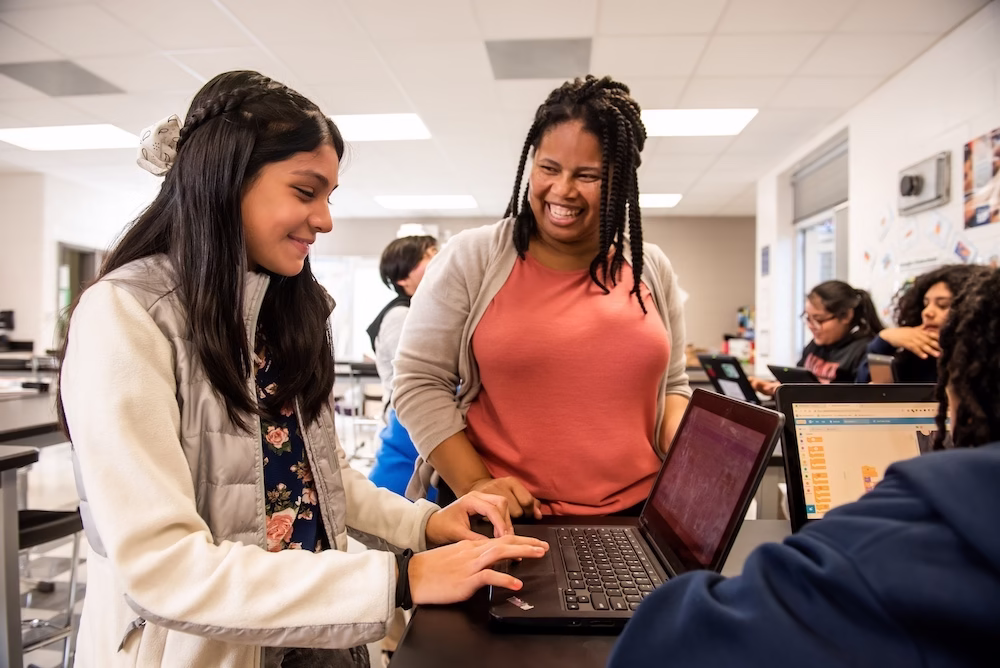
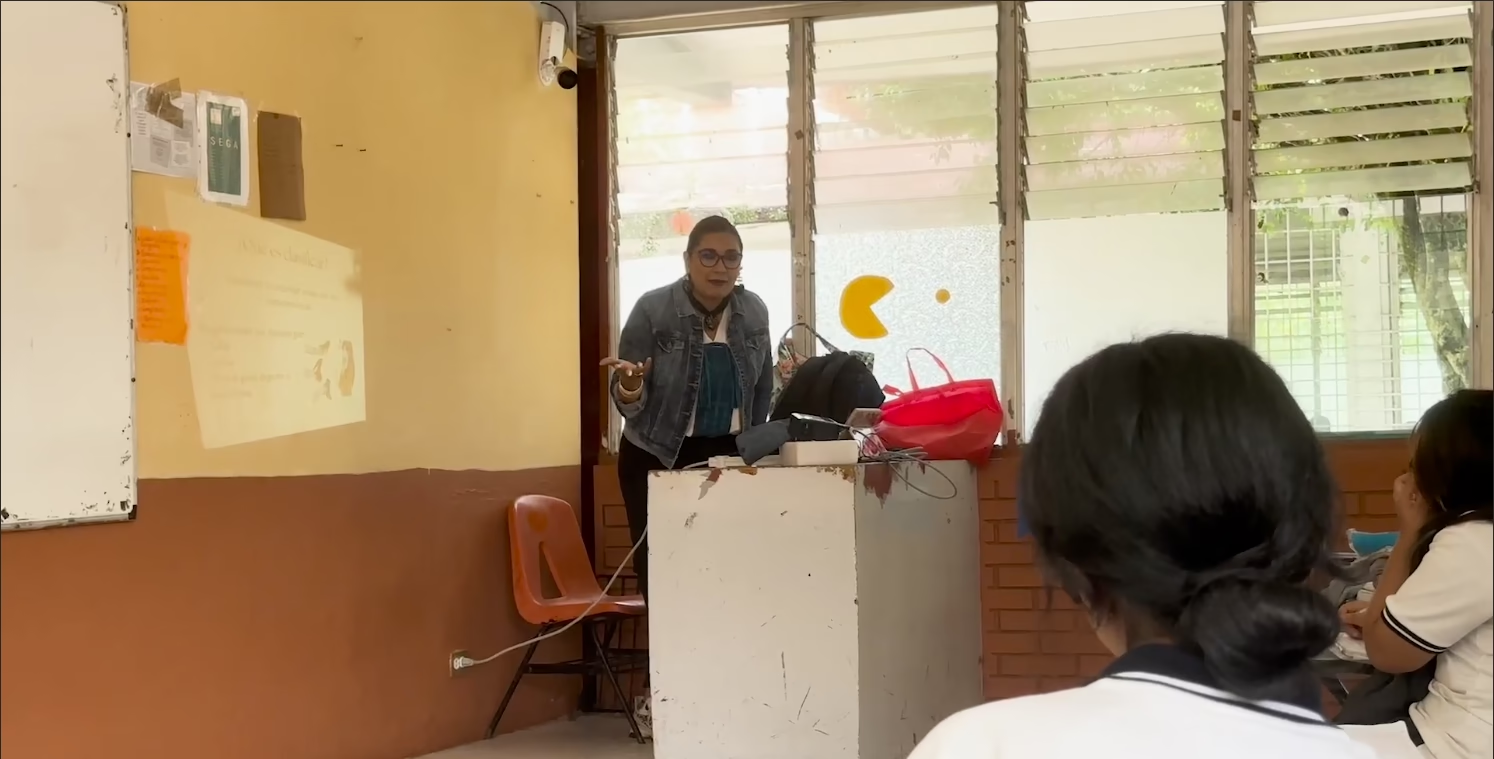
Reading Time: 4 minutesIn classrooms across Mexico, a transformation is unfolding. The Experience AI programme isn’t just teaching students about artificial intelligence, it’s empowering teachers and learners to explore, question, and create with it. By equipping educators with accessible tools and sparking curiosity among students, the initiative is shaping a new generation ready to use AI responsibly and […]