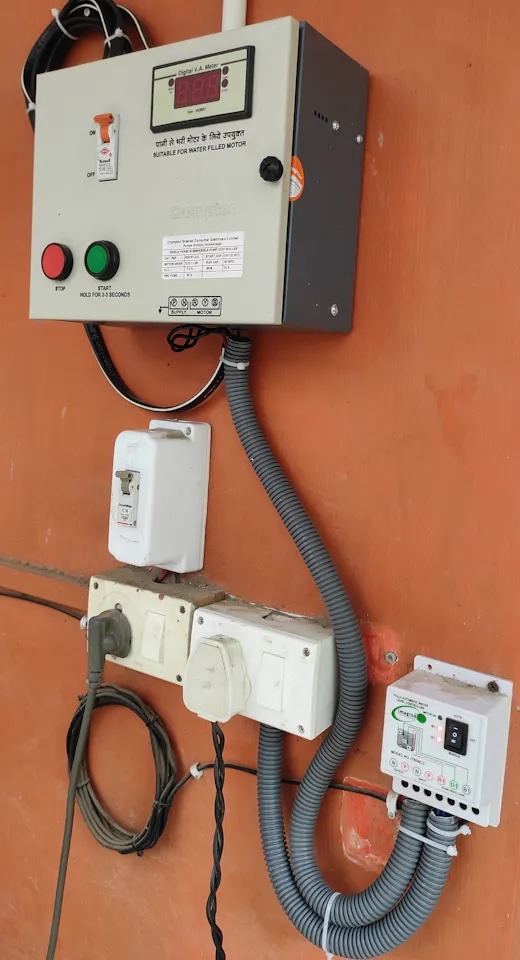

Imagine you’ve just installed your state-of-the-art lighting control system, perfectly hidden in a box inside a wall, and everything seems to be working like a charm. But then, you spot a bug in the firmware. The thought of pulling the hardware back out sends shivers down your spine. You start wondering for how long you can just ignore the issue. The good news is you don’t have to, and there is a simple solution: over-the-air (OTA) updates!
OTA updates are a crucial aspect of IoT (Internet of Things) devices, allowing you to remotely update the firmware or software of your connected devices without the need for physical access. This technology is a game-changer for both makers and businesses because it offers seamless maintenance, enhanced security, and improved user experience.
At Arduino, we’ve long recognized the importance of OTA updates and do our best to assist users implement this technology. Over time, this has allowed us to identify some common questions on the topic: let’s dive into the top 10!
#1: What are OTA updates, exactly?
OTA updates refer to the process of delivering code updates to IoT devices remotely, without the need for physical connections or manual interventions. This can be achieved through wireless communication protocols such as Wi-Fi®, cellular, or Bluetooth®.
The process typically involves uploading the updated firmware or software to a server, and then pushing it to the target devices over the internet or a local network. The device then updates itself without the need for manual intervention.
#2: Why do we need OTA?
Firmware updates are essential for IoT devices to maintain their functionality, security, and relevance over time. However, traditional methods of firmware updates, which require physical access or manual intervention, can be costly, time-consuming, and impractical in many scenarios.
OTA updates make it easier to keep devices up-to-date, bug-free, secure and capable of adapting to evolving requirements throughout their lifecycle.
#3: What types of devices benefit from OTA updates?

OTA updates are particularly critical for the following scenarios:
- IoT devices deployed in remote locations or difficult-to-access areas, such as industrial equipment, medical devices, or agricultural sensors.
- High-value devices such as industrial robots or complex medical equipment, and critical infrastructure systems – such as power grids, water treatment plants, or financial systems – which demand frequent security updates and patches to ensure the highest level of protection against cyber threats.
- Smart home devices like thermostats, security cameras, or voice assistants, which often undergo frequent software updates to introduce new features or enhance user experiences.
- Devices with limited power or resources: IoT devices with constrained power or computational resources, such as wearables or environmental sensors, can benefit from OTA updates that minimize power consumption and extend battery life.
- Systems that require continuous operation and minimal downtime, such as financial systems (ATMs, point-of-sale terminals), healthcare systems (electronic health records, medical imaging equipment).
#4: What are the main challenges in using OTA updates for IoT?
While OTA updates offer numerous benefits, there are several challenges and issues to consider in order to mitigate any risks or avoid potential pitfalls.
- Device heterogeneity: IoT devices come in various forms, with different hardware and software configurations, making it challenging to develop and deploy updates that work seamlessly across all.
- Connectivity and bandwidth limitations: Some IoT devices may have limited or intermittent internet connectivity, or operate on low-bandwidth networks, which can make it difficult to deliver large firmware updates.
- Security concerns: OTA updates introduce potential security risks, such as unauthorized access or malicious code injection, if not implemented with proper security measures (we’ll explain more at #6!).
- Scalability and management: As the number of IoT devices grows, managing and deploying OTA updates to large fleets can become a significant challenge.
- Simplicity: Many OTA systems require complex infrastructure or elaborate operations. Finding the right platform to simplify the process can be challenging.
#5: What are the benefits of over-the-air updates?
Despite the challenges, OTA updates offer numerous benefits for IoT devices:
- Increased device lifespan: By enabling remote updates, OTA updates can extend the usable lifespan of IoT devices, reducing the need for frequent replacements or costly on-site maintenance.
- Deployment of bug and security fixes: OTA updates allow for the prompt distribution of bug fixes, security patches, and vulnerability remediation, ensuring that IoT devices remain secure and up-to-date.
- Improved device performance and functionality: OTA updates can introduce new features, performance enhancements, and functionality improvements, keeping IoT devices competitive and valuable for users.
- Reduced maintenance costs: By eliminating the need for on-site visits or device replacements, OTA updates can significantly reduce maintenance costs associated with IoT deployments.
- Enhanced user experience: With seamless updates and continuous improvements, OTA updates can enhance the overall user experience by providing the latest features and addressing issues promptly.
#6: Are OTA updates safe?

Security is a legitimate concern when it comes to OTA updates, as they can potentially introduce vulnerabilities or be exploited by malicious actors. Hackers, for example, can potentially exploit the update process to gain unauthorized access or introduce malicious code. However, with proper security measures in place, OTA updates can be safe and secure.
When choosing an OTA update solution for your IoT devices, look for features that ensure encrypted transmissions and secure authentication protocols, such as encrypted communication channels, secure boot mechanisms, code signing, and secure authentication and authorization processes.
#7: What do makers typically use OTA updates for?

OTA updates are particularly beneficial for makers working on IoT projects in various scenarios.
- Home automation: Smart home devices like lighting systems, thermostats, and security cameras can benefit from OTA updates to introduce new features, fix bugs, or enhance functionality.
- Gardening: IoT devices used for monitoring and controlling garden systems, such as automated irrigation solutions or greenhouses, can be updated remotely without disrupting the growing environment.
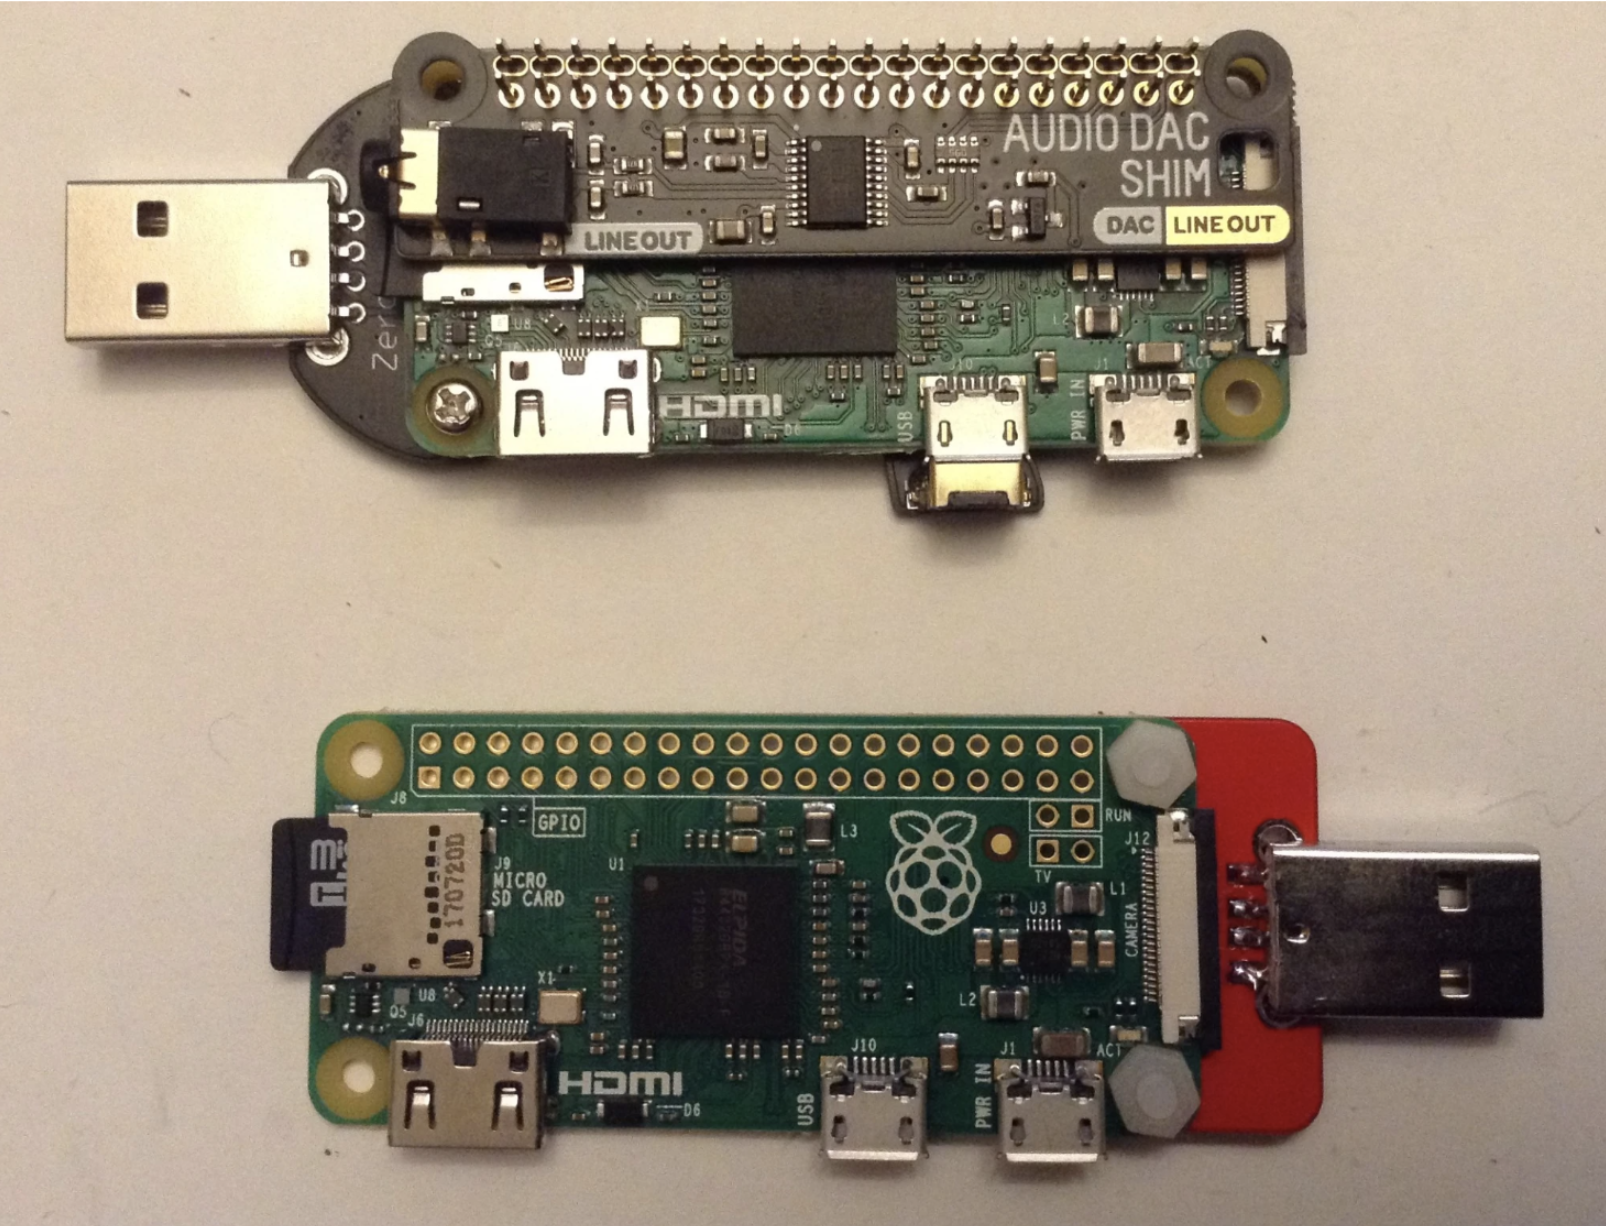
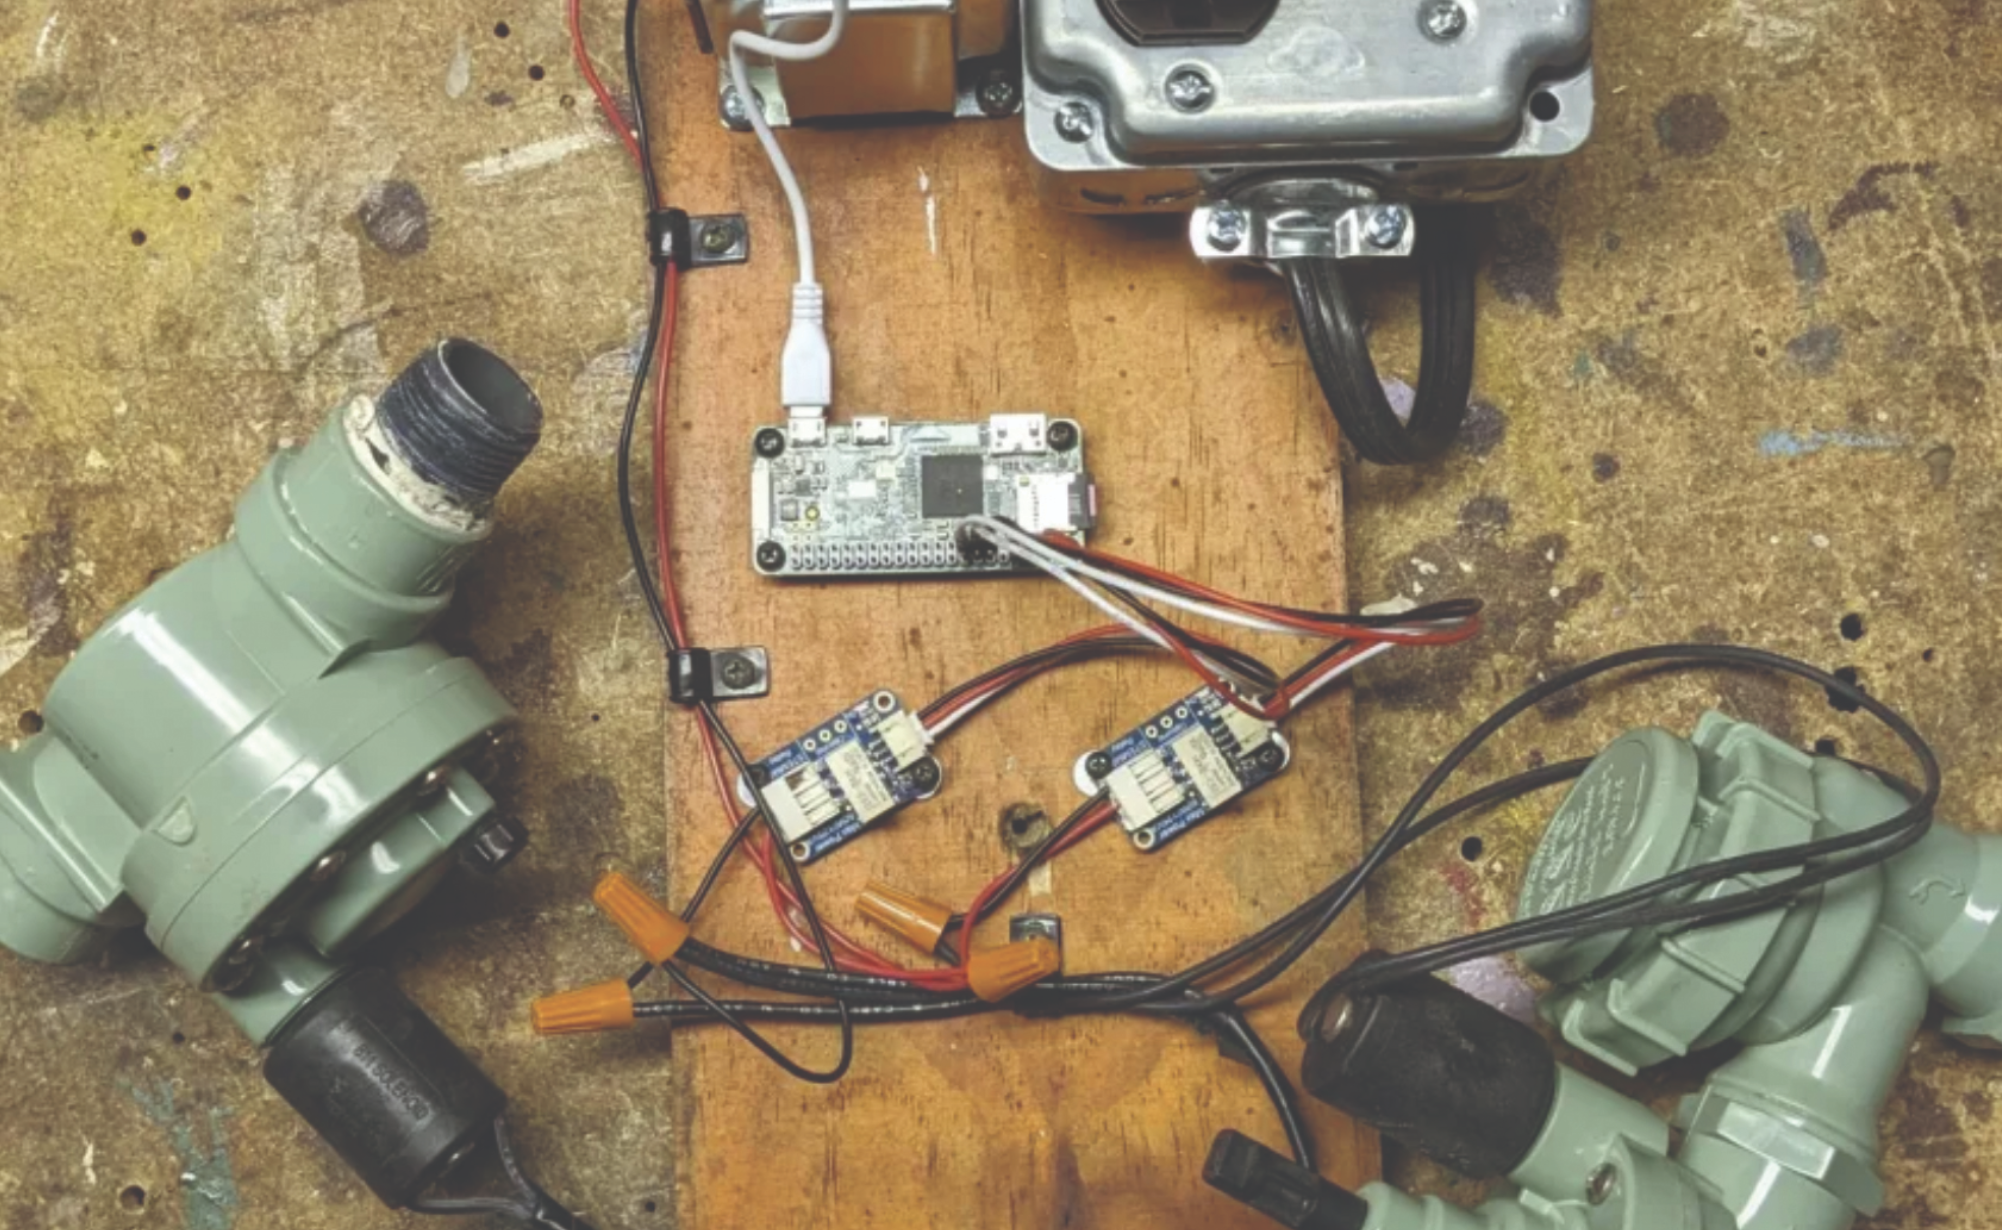
- Devices hidden inside wall boxes or cabinets: IoT devices installed in hard-to-reach locations can be easily updated without the need for physical access.
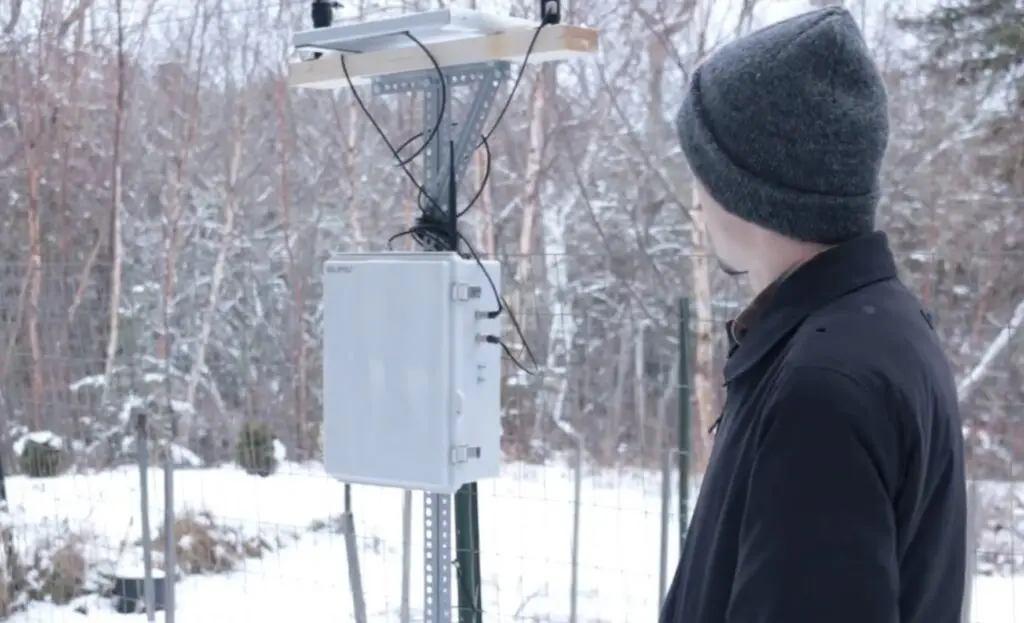
- Outdoor monitoring: Environmental monitoring devices deployed in remote or inaccessible areas, such as weather stations or wildlife tracking systems, can be updated wirelessly without requiring on-site visits.
#8: What are the typical use cases of OTA for enterprises?

OTA updates are equally crucial for enterprises deploying IoT solutions across various industries:
- Industrial IoT (IIoT) applications: In industrial settings, OTA updates can help maintain and enhance IoT devices used for process monitoring, predictive maintenance, and automation without disrupting operations.
- Agriculture: IoT devices used in precision agriculture, such as soil moisture sensors, weather stations, and automated irrigation systems, can be updated remotely to improve efficiency and crop yield.
- Automotive and transportation: Connected vehicles and transportation systems can benefit from OTA updates to enhance safety features, improve performance, and address security vulnerabilities.
- Healthcare and medical devices: OTA updates can ensure that medical IoT devices, like wearables or implantable devices, remain compliant, secure, and up-to-date with the latest software and firmware versions.
For enterprises with large-scale IoT deployments, orchestrating mass over-the-air (OTA) updates is a critical capability, enabling them to seamlessly roll out new firmware or software versions simultaneously across their entire fleet of devices.
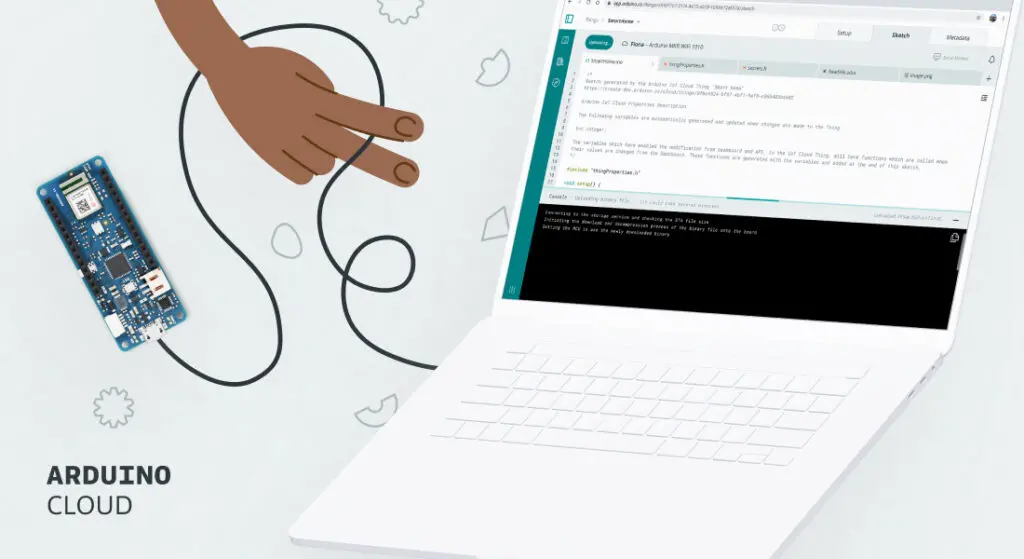
#9: What is OTA in Arduino?
Most of the applications described above can be implemented using Arduino boards, popular among makers and increasingly adopted by enterprises worldwide. The Arduino Cloud seamlessly supports these boards and offers a comprehensive and secure solution for their OTA updates.
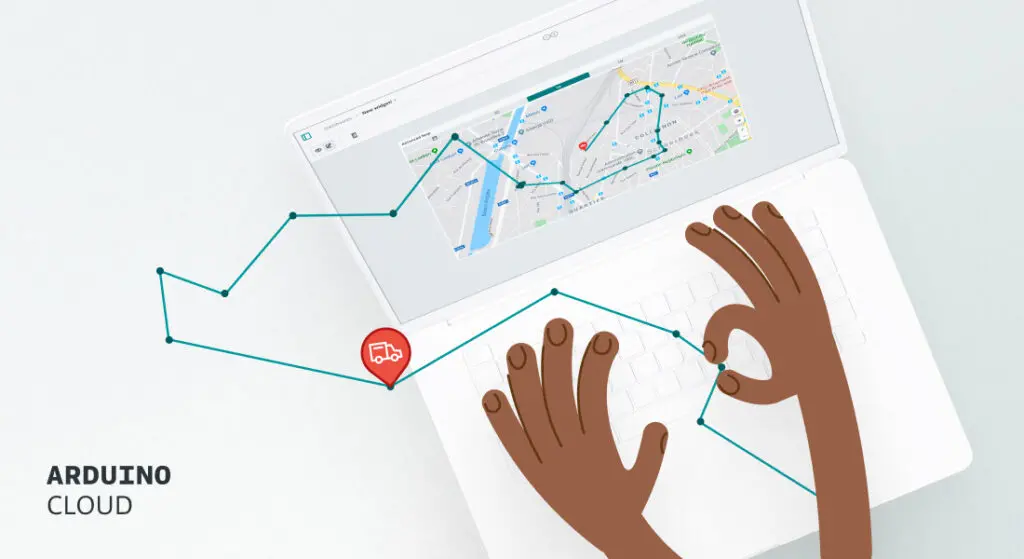
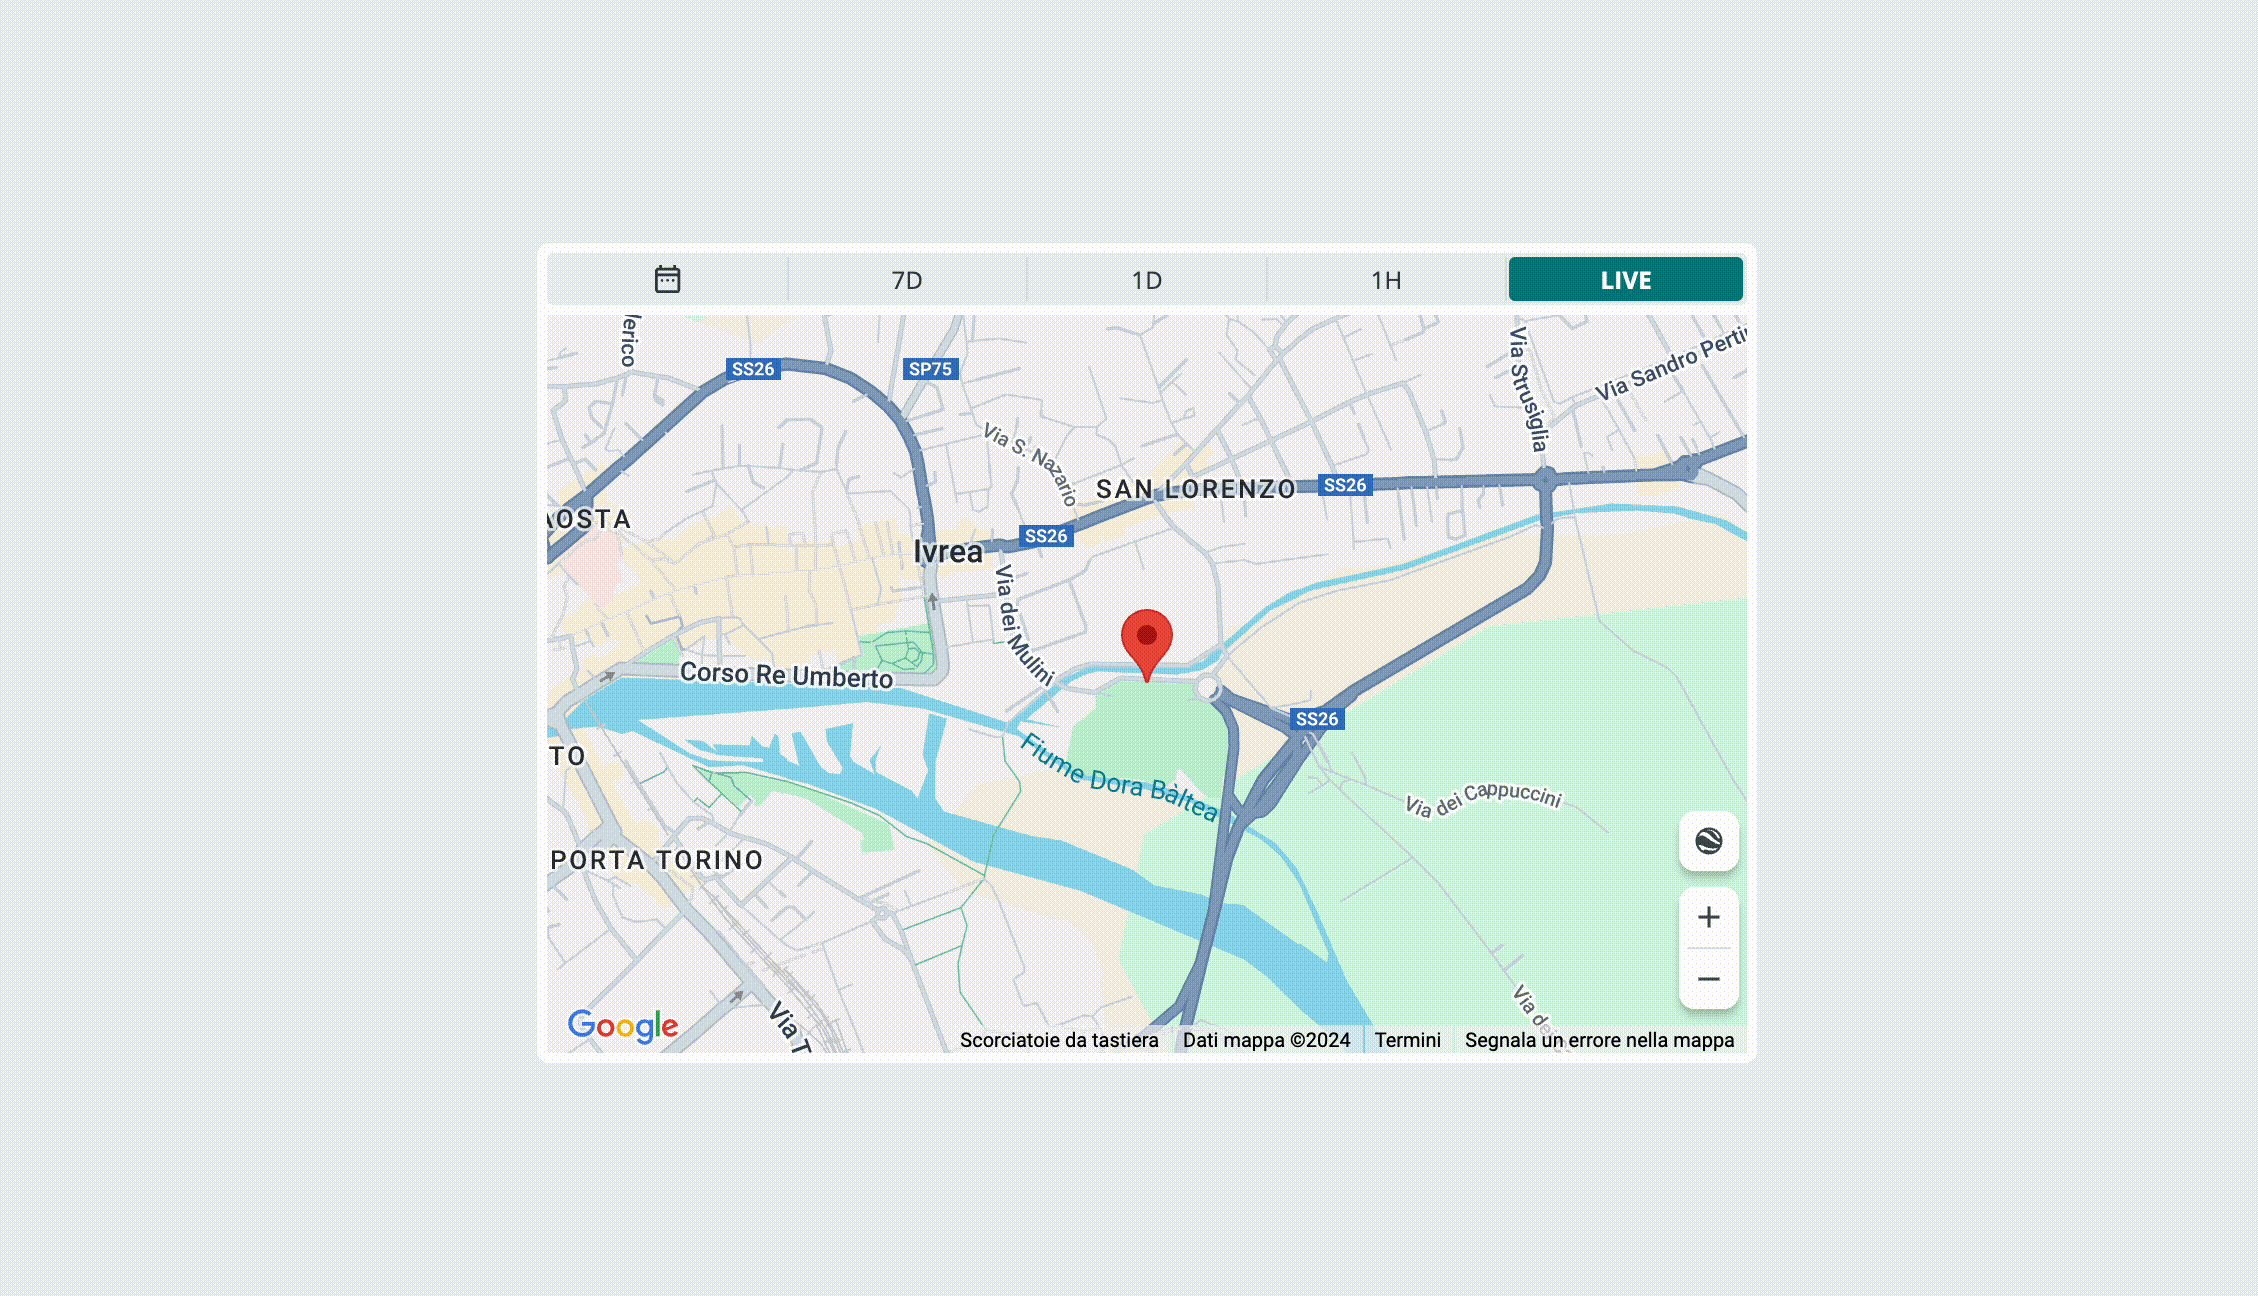
And there’s more! The Arduino Cloud is a powerful platform that can be used to monitor and control devices across many applications, from personal hobbies at home to energy management solutions in the factory.
Arduino Cloud OTA is designed to be both secure and robust. It uses end-to-end encryption to protect firmware updates during transmission, ensuring that only authorized devices receive updates. Additionally, the cloud-based platform provides a centralized management system, allowing users to track and monitor updates in real-time. Finally, it ensures that firmware updates are delivered efficiently and reliably, minimizing the risk of errors or failures.
To perform an OTA firmware update for a board supported by the Arduino Cloud, such as the Arduino UNO R4 WiFi, simply follow these steps:
1. Add your device to the Arduino Cloud.
2. Create your Thing, configure your network credentials and develop your code.
3. In the Cloud Editor, select OTA (over-the-air) as the programming method.
4. Compile your code clicking on the VERIFY icon.
5. Upload your new firmware to your device.
The Arduino Cloud will handle the rest, securely delivering the new firmware to your device(s) over the air, without any physical intervention required.
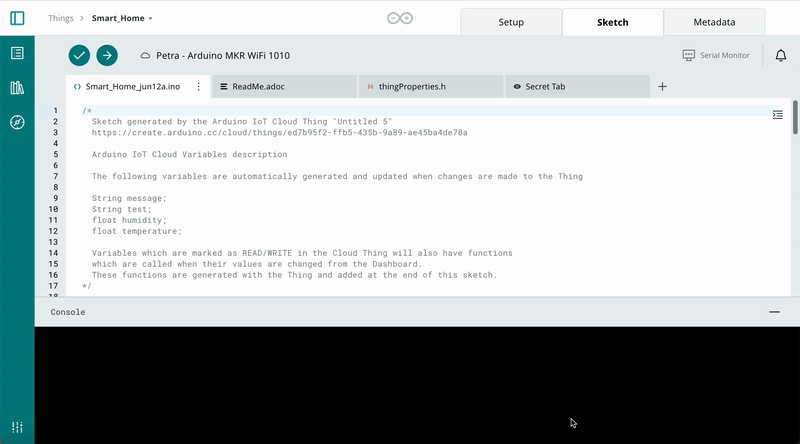
Note: The first programming must be done via USB cable. After that, provided that the board is connected to the Arduino Cloud, OTA can be used.
#10: How to do OTA firmware update on ESP32?
ESP32 is a very popular hardware architecture for IoT because it’s compact, affordable and powerful. And ESP32 boards are fully supported by Arduino Cloud, so you can follow just a few simple steps to perform OTA updates on their firmware: the process is similar to the one we saw at #9 for Arduino boards!
1. Add your device to the Arduino Cloud as a “third-party device.”
2. Create your Thing, configure your network credentials and develop your code.
3. In the Cloud Editor, select OTA (over-the-air) as the programming method.
4. Compile your code clicking on the VERIFY icon.
5. Upload your new firmware to your device.
That’s it! The Arduino Cloud will deliver the new firmware to your device(s) over the air, without any physical intervention required.
Note: The first programming must be done via USB cable. After that, provided that the board is connected to the Arduino Cloud, OTA can be used.
Check out this article in the Arduino documentation if you want to learn more about the full OTA process.
Try OTA on your devices with Arduino Cloud!
If you’re ready to upgrade your IoT projects, explore the Arduino Cloud today. Arduino Cloud is a secure and user-friendly all-in-one IoT solution to create from anywhere, visualize your sensor data with unlimited IoT dashboards, receive alerts on your phone … and of course, deploy OTA updates.
The post Why do OTA updates matter in IoT? appeared first on Arduino Blog.
Website: LINK