Kategorie: Linux
-

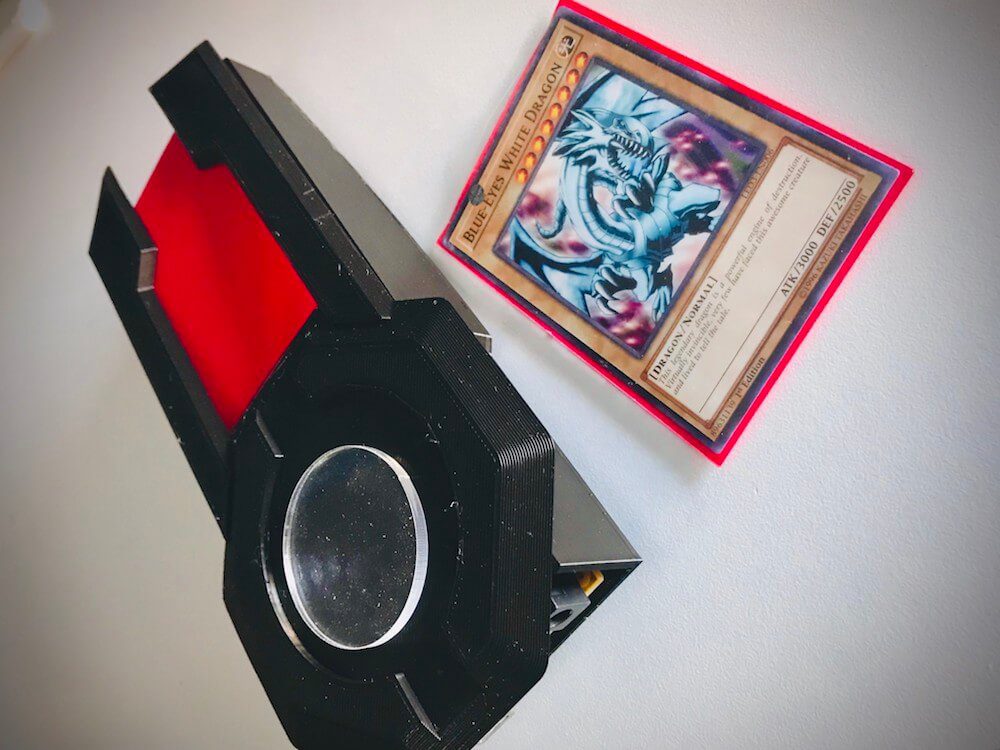
Duel Disk System blends physical cards with a virtual playfield
Reading Time: < 1 minuteDuel Disk System blends physical cards with a virtual playfield Arduino Team — February 21st, 2020 Yu-Gi-Oh! and other similar card games can be quite popular, but actually finding a group to play with can be challenging. Online games, on the other hand, have their advantages yet render your deck pretty…
-

Room Guard: build a Raspberry Pi motion sensor alarm
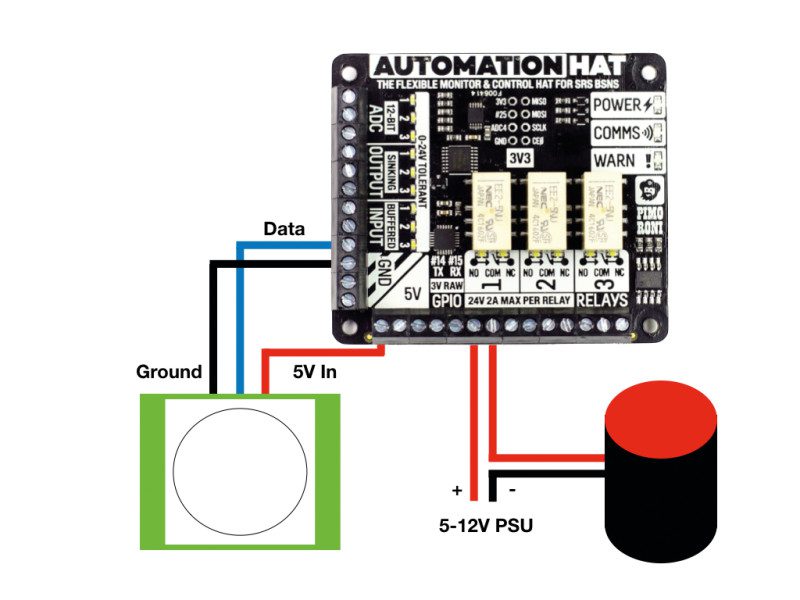
Reading Time: 6 minutesRoom Guard: You’ll Need Why an Automation HAT? Many Raspberry Pi physical computing projects directly use the GPIO to connect things like sensors, buzzers, and LEDs. In this case, we’re going use the incredibly versatile Pimoroni Automation HAT. This ‘input expander’ allows us to control devices that would normally either be incompatible…
-
Room Guard: build a Raspberry Pi motion sensor alarm
Reading Time: 6 minutesRoom Guard: You’ll Need Why an Automation HAT? Many Raspberry Pi physical computing projects directly use the GPIO to connect things like sensors, buzzers, and LEDs. In this case, we’re going use the incredibly versatile Pimoroni Automation HAT. This ‘input expander’ allows us to control devices that would normally either be incompatible…
-

How to play sound and make noise with your Raspberry Pi
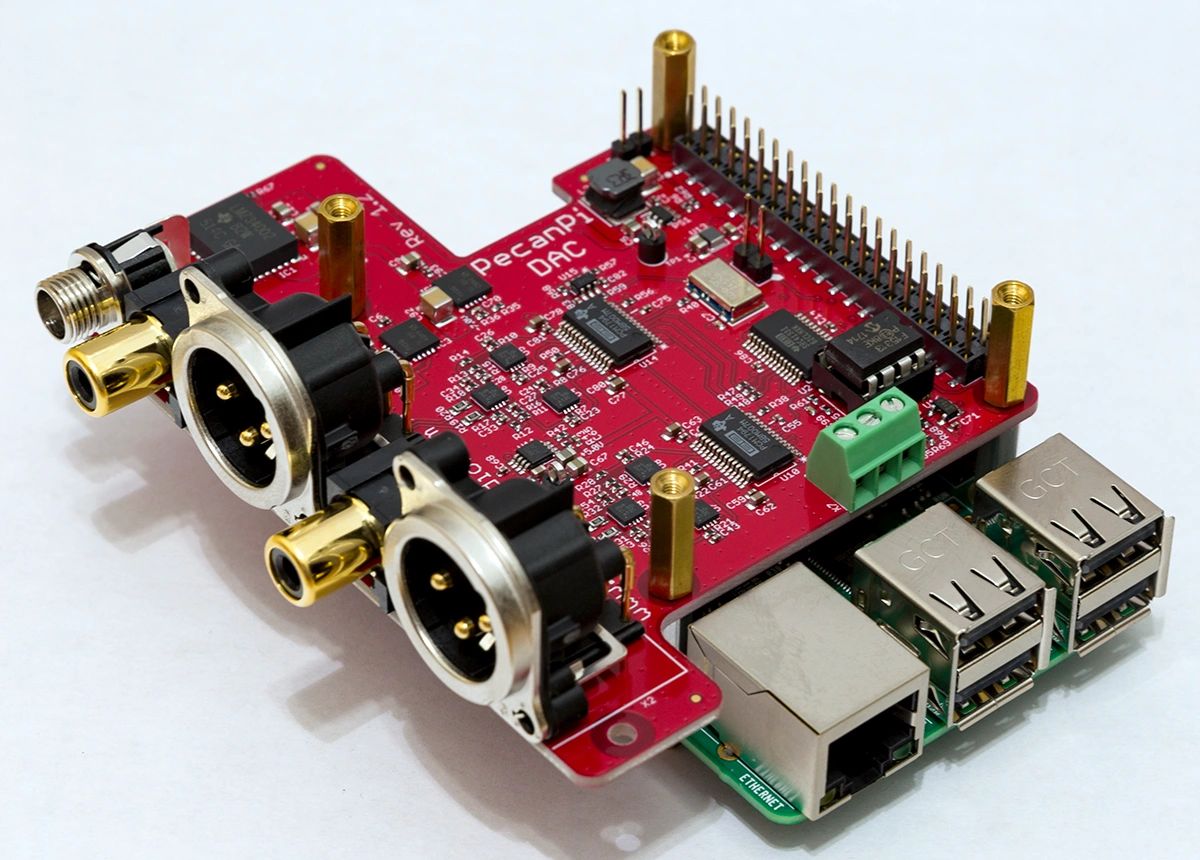
Reading Time: 9 minutesIf your amazing project is a little too quiet, add high-fidelity sound with Raspberry Pi and the help of this handy guide from HackSpace magazine, written by PJ Evans. The PecanPi HAT features best-in-class components and dual DACs for superior audio reproduction It’s no surprise that we love microcontrollers at HackSpace magazine.…
-

Audio radar – accessible radar tech
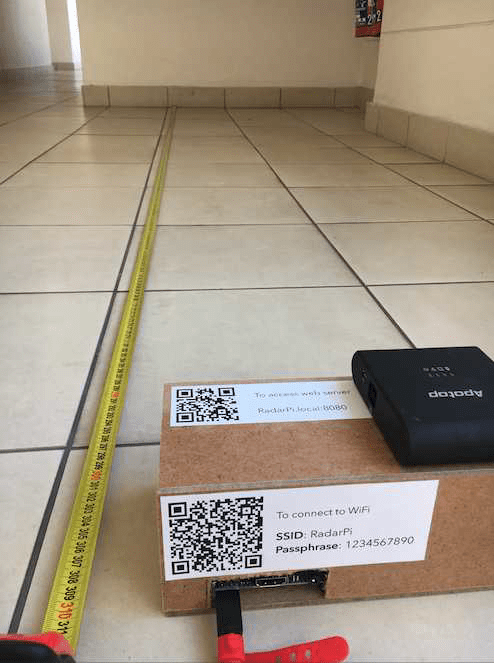
Reading Time: 2 minutes“The radar introduces the user in an easy and accessible way to electronics, [as well as] embedded systems and how radar detects return signals and performs filtering to measure radial velocity and distance to objects,” he explains. The radar is based on a Raspberry Pi 3B which hosts a web server to…
-
Audio radar – accessible radar tech
Reading Time: 2 minutes“The radar introduces the user in an easy and accessible way to electronics, [as well as] embedded systems and how radar detects return signals and performs filtering to measure radial velocity and distance to objects,” he explains. The radar is based on a Raspberry Pi 3B which hosts a web server to…
-

Build a Raspberry Pi Zero W Amazon price tracker
Reading Time: 2 minutesHave you ever missed out on a great deal on Amazon because you were completely unaware it existed? Are you interested in a specific item but waiting for it to go on sale? Here’s help: Devscover’s latest video shows you how to create an Amazon price tracker using Raspberry Pi Zero W…
-

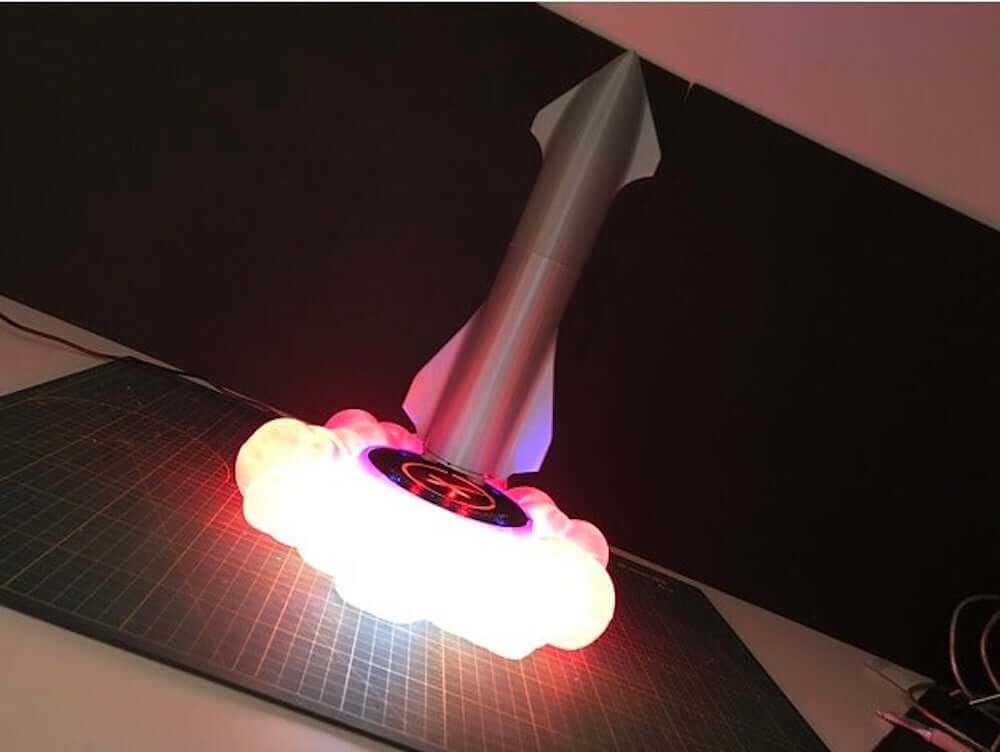
This SpaceX fan created a levitating Starship lamp
Reading Time: < 1 minuteThis SpaceX fan created a levitating Starship lamp Arduino Team — February 18th, 2020 Although you might not be able to build or house your own SpaceX Starship, YouTuber “Embrace Racing” has created a levitating lamp model that will be much more attainable for non-multi-billionaires. The lamp’s landing pad features an Arduino Nano…
-

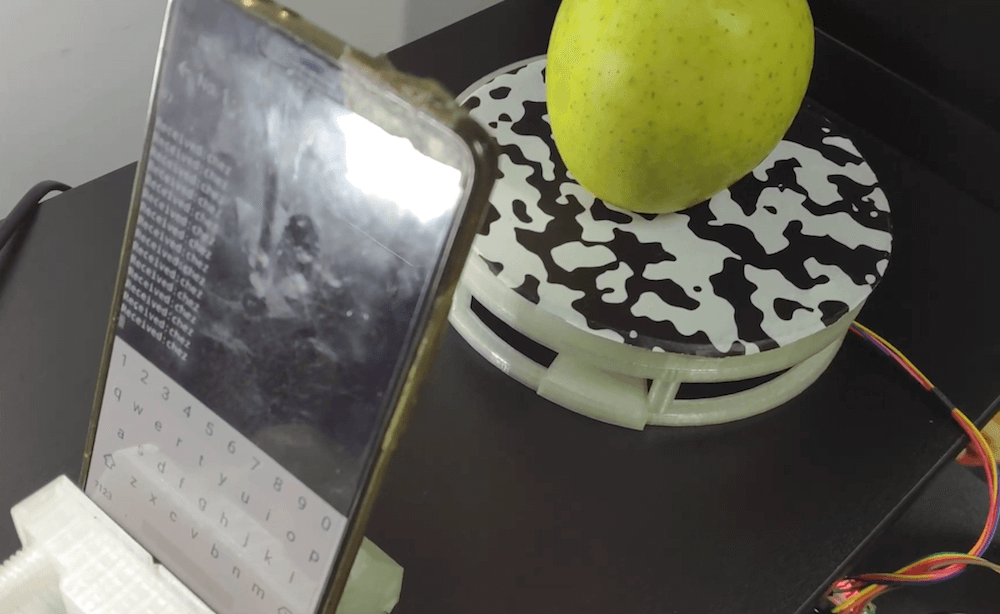
AAScan is an open source, Arduino-powered 3D scanner that uses your phone
Reading Time: < 1 minuteAAScan is an open source, Arduino-powered 3D scanner that uses your phone Arduino Team — February 18th, 2020 3D scanners are amazing tools that literally let you turn everyday things into three-dimensional computer models. As seen on Reddit, if you want to make one yourself — using little more than a…
-

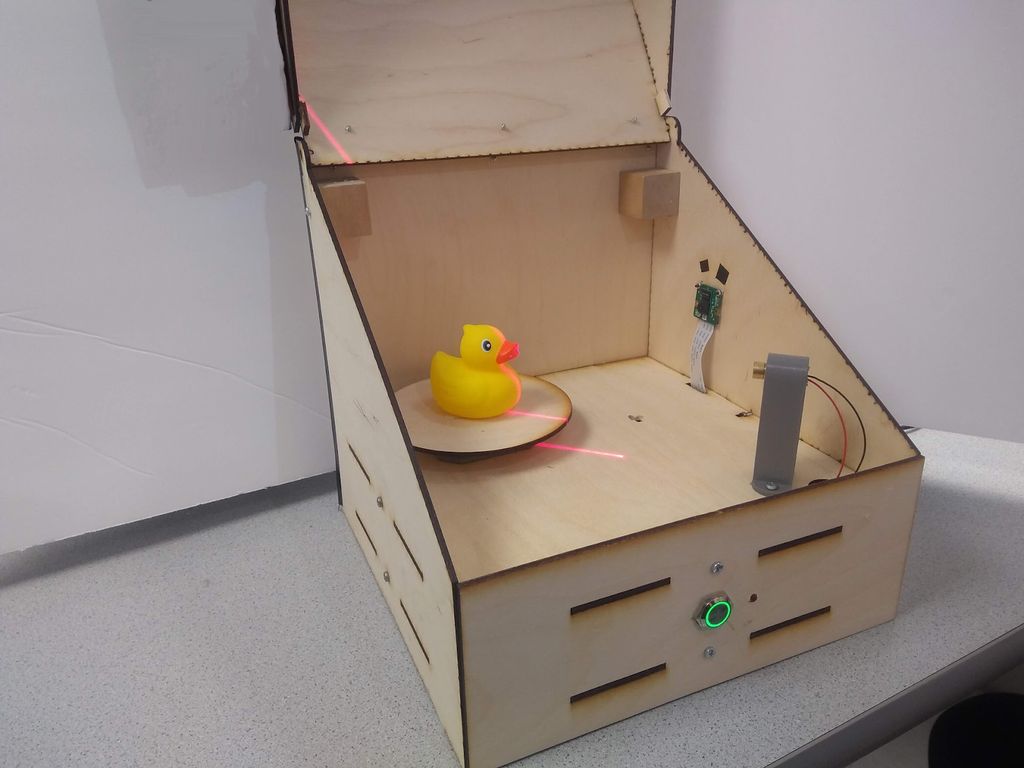
Build a Raspberry Pi laser scanner
Reading Time: 2 minutesYou really don’t need anything too fancy to build this Raspberry Pi laser scanner, and that’s why we think it’s pretty wonderful. Rasperry Pi 3D Laser Scanner Cornell University: ECE 5725 Michael Xiao and Thomas Scavella Building a Raspberry Pi laser scanner The ingredients you’ll need to build the laser scanner are:…
-

3D-printable Raspberry Pi bits and pieces you should totally make
Reading Time: 2 minutesRecently, we’ve seen an awful lot of new designs online for 3D-printable Raspberry Pi cases and add-ons. Here are a few that definitely need your attention. Turbine RGB Lamp Described as “a Turbine-fin Lamp with some RGB Neopixels in the middle,” this print from Thingiverse user kryptn would be a rather lovely…
-

A DIY digital readout for your wood lathe
Reading Time: < 1 minuteA DIY digital readout for your wood lathe Arduino Team — February 15th, 2020 Small wood lathes don’t typically come with an RPM readout, so after obtaining such a machine several months ago, engineer Zach — also known as ‘byte sized’ — decided to build his own custom display. The device…
-

How to use an LED with Raspberry Pi
Reading Time: 2 minutesLearn how to use an LED with Raspberry Pi in our latest How to use video on YouTube. HOW TO USE an LED with Raspberry Pi Subscribe to our YouTube channel: http://rpf.io/ytsub Help us reach a wider audience by translating our video content: http://rpf.io/yttranslate Buy a Raspberry Pi from one of our Approved…
-

arduino-cli 0.8.0 is here!
Reading Time: < 1 minutearduino-cli 0.8.0 is here! Arduino Team — February 14th, 2020 Our dev team is grateful for the high quality contributions that the project is receiving, and is working hard to collect all the lovely feedback we have received to shape the Arduino CLI into the best tool possible for the community!…
-

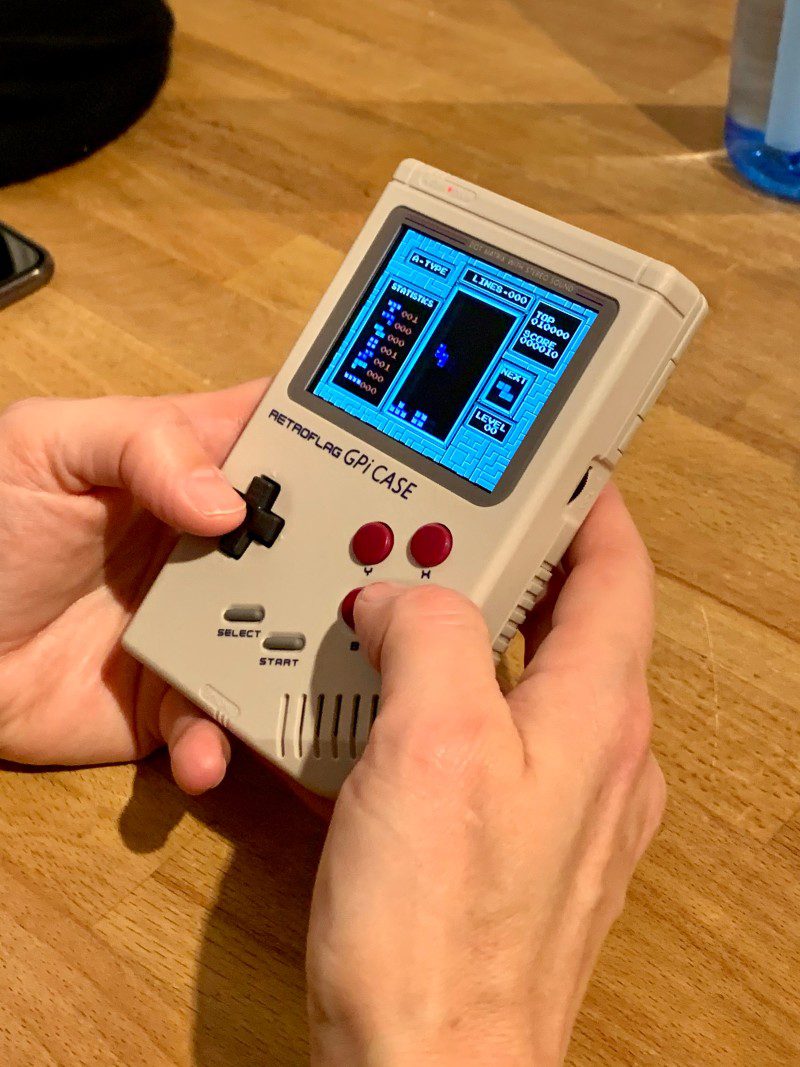
RetroFlag GPi Case
Reading Time: 2 minutesMore than a simple enclosure for the Raspberry Pi Zero, this rather familiar-looking unit is a full-blown battery-powered gaming console that (just about) fits in the palm of your hand. Game on The clever design of the RetroFlag GPi case replicates that of eighties handheld consoles, including a cartridge-like unit that slides…
-
Arduino 1.8.12 is out!
Reading Time: < 1 minuteArduino 1.8.12 is out! Arduino Team — February 13th, 2020 Today, we are excited to announce the arrival of the Arduino IDE 1.8.12. Wow! Another release just after two weeks, you ask? Well, we fixed some serious bugs related to the compiler, and more importantly, we had to take a step…
-

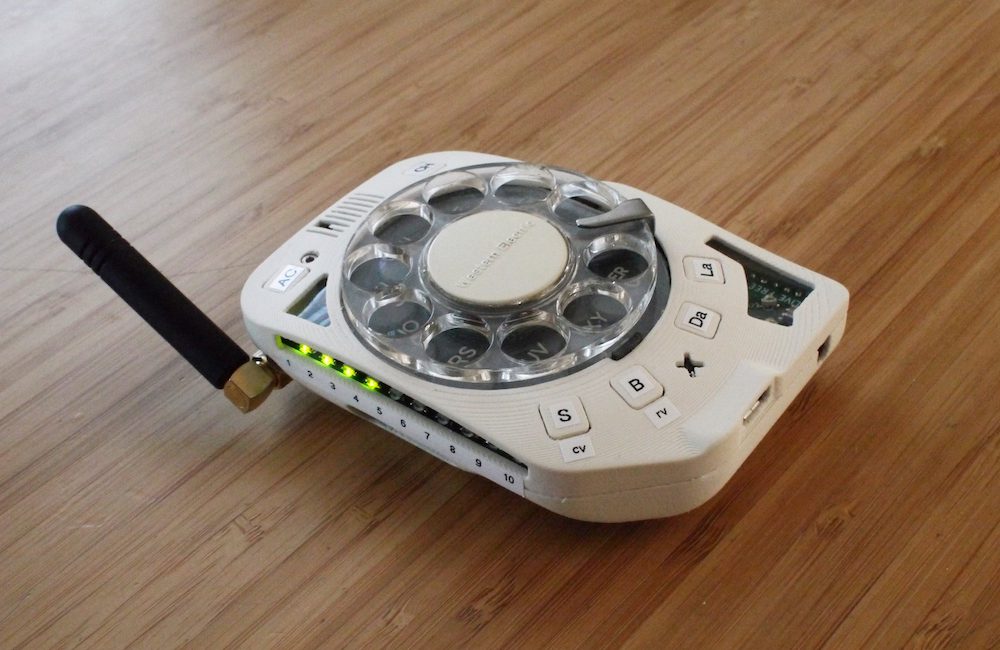
This retro-looking rotary cellphone is free of modern-day distractions
Reading Time: 2 minutesThis retro-looking rotary cellphone is free of modern-day distractions Arduino Team — February 13th, 2020 What we carry today in our pockets is nominally called a “phone,” but more often than not we’re using it to do various other computing tasks. Justine Haupt, however, wanted an actual phone that “goes as far from…
-

Pi Wars 2020 robots raring to go
Reading Time: 2 minutesPi Wars 2020 is going to be an absolute train wreck – at least that’s the hope of its organisers, Mike Horne and Tim Richardson. With a somewhat apocalyptic atmosphere swirling when it came time to choose a theme, Pi Wars organisers declared the 2020 event – the sixth Raspberry Pi robot…
-

Code a Kung-Fu Master style beat-’em-up | Wireframe #32
Reading Time: 4 minutesPunch and kick your way through a rabble of bad dudes in a simple scrolling beat-’em-up. Mark Vanstone shows you how Although released to tie in with Jackie Chan’s Spartan X, Kung-Fu Master was originally inspired by the Bruce Lee film, Game of Death. Kung-Fu Master Kung-Fu Master hit arcades in 1984.…
-

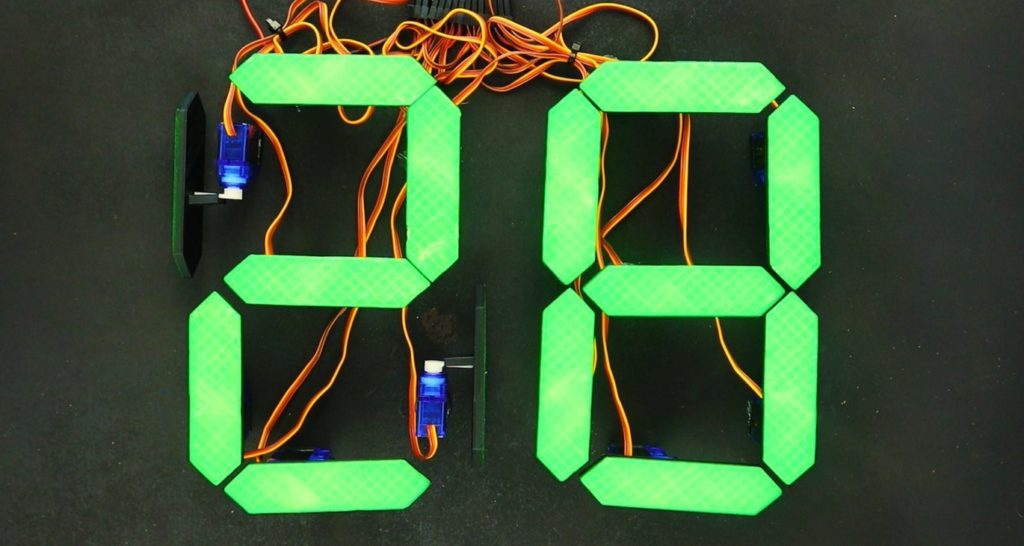
Mechanical 7-segment display made with micro servos and an Arduino Mega
Reading Time: < 1 minuteMechanical 7-segment display made with micro servos and an Arduino Mega Arduino Team — February 12th, 2020 Flip displays are an interesting piece of technology, physically moving segments into place that stay put until other information is needed. Michael Klements has been especially fascinated by these devices, and after inspiration from…
-

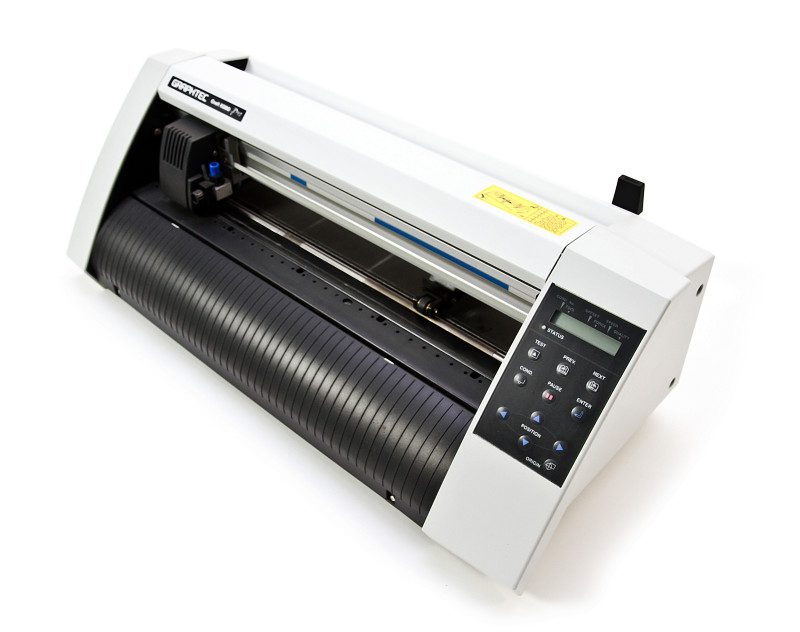
50 Raspberry Pi 4 Tips and Tools: pt 2
Reading Time: 6 minutesFor part I of this guide to tools every maker should have, see here. Warning Some of these tools use mains electricity and heated parts. Always follow connection instructions and never leave heated elements unattended. Cutting, trimming and coverings 26. Card trimmer A card trimmer will enable you to cut crisp straight…
-

Attend our Cambridge Computing Education Research Symposium
Reading Time: 3 minutesAre you an academic, researcher, student, or educator who is interested in computing education research? Then come and join us in Cambridge, UK on 1 April 2020 for discussion and networking at our first-ever research symposium. Dr Natalie Rusk from the MIT Media Lab is our keynote speaker Join our symposium At…